• Skip to primary navigation
  • Skip to main content
  • Skip to primary sidebar
  • Recipes
    • brownies
    • cakes and cupcakes
    • chocolate and candy
    • cookies
    • fall
    • loaf cakes
    • muffins
    • no bake desserts
    • pies and tarts
    • sandwich cookies and cookie bars
    • savory
    • spring and summer
    • winter
  • About Me
  • Cookbook
  • Contact

Olives + Thyme logo

menu icon
go to homepage
  • Recipes
    • brownies
    • cakes and cupcakes
    • chocolate and candy
    • cookies
    • fall
    • loaf cakes
    • muffins
    • no bake desserts
    • pies and tarts
    • sandwich cookies and cookie bars
    • savory
    • spring and summer
    • winter
  • About Me
  • Cookbook
  • Contact
search icon
Homepage link
  • Recipes
    • brownies
    • cakes and cupcakes
    • chocolate and candy
    • cookies
    • fall
    • loaf cakes
    • muffins
    • no bake desserts
    • pies and tarts
    • sandwich cookies and cookie bars
    • savory
    • spring and summer
    • winter
  • About Me
  • Cookbook
  • Contact
×

Home » chocolate and candy

Published on September 28, 2019. Published by Megan

caramelized white chocolate

111 shares

its been said that if someone gives you caramelized white chocolate, they must really love you. why you ask? while its not difficult to make, it takes a bit of time and a bit more love and attention to make. i promise you though, it is worth it. so, worth it.

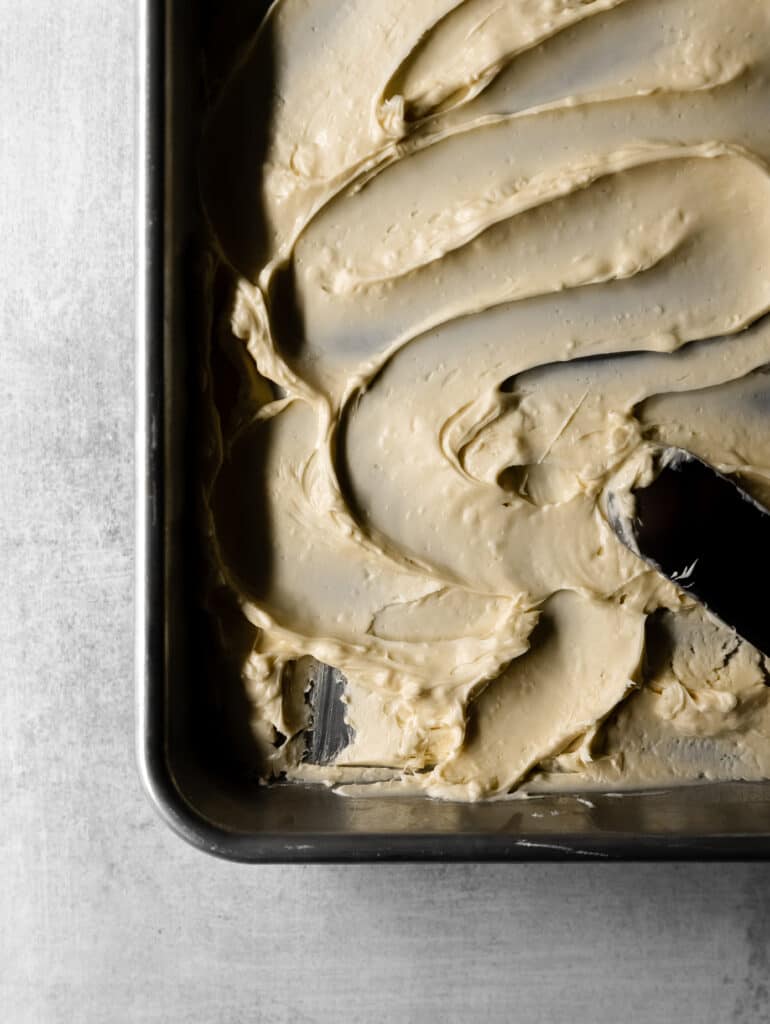
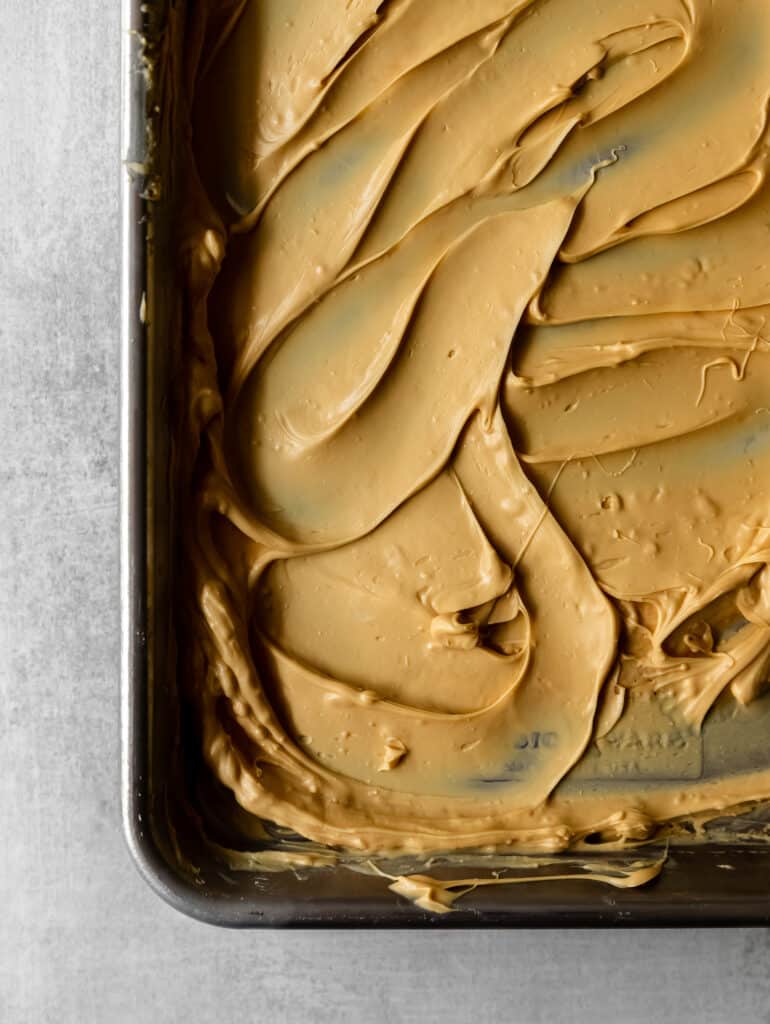
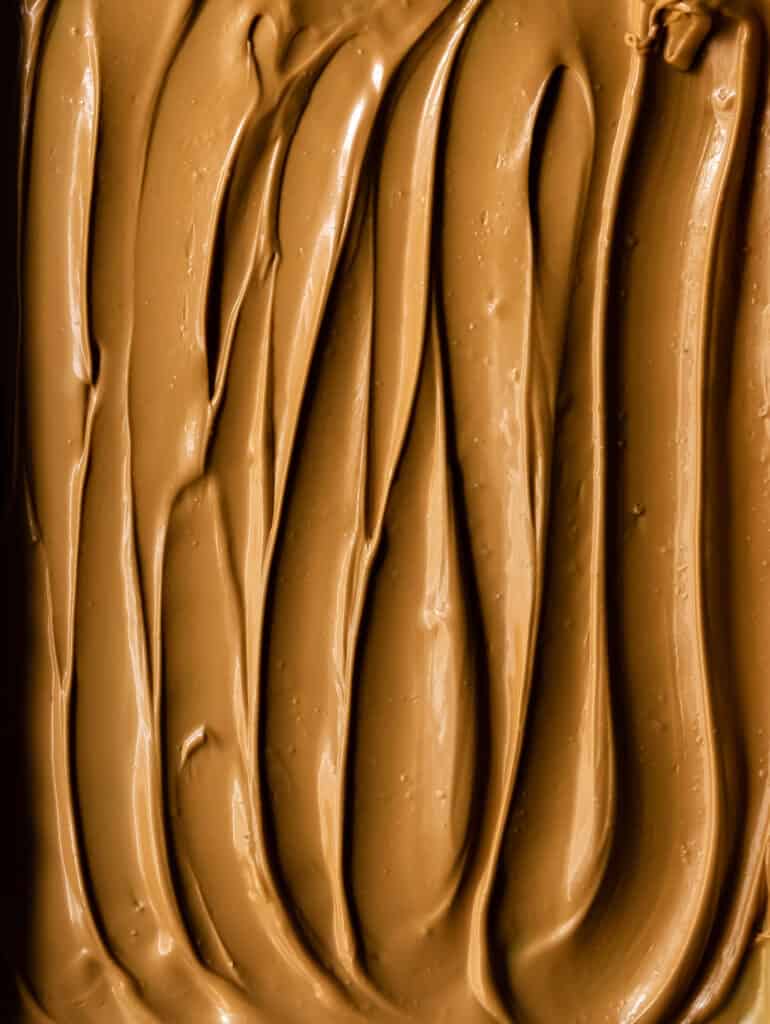
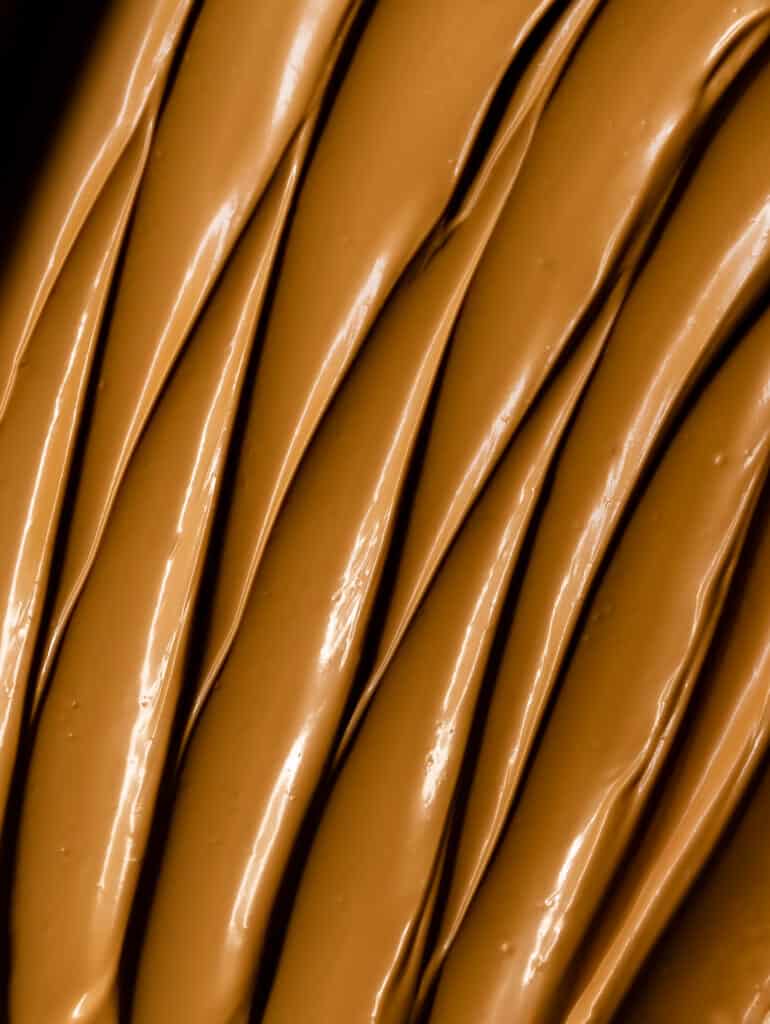
this magical thing happens when you bake white chocolate over low heat for about an hour. it transforms from flat and overly sweet into this rich golden, caramel-y chocolate; with notes of vanilla and a slight roasted taste in the background. caramelized white chocolate instantly elevates anything you add it to. im seriously contemplating if i'll ever go back to regular white chocolate again!

a few tips before you start:

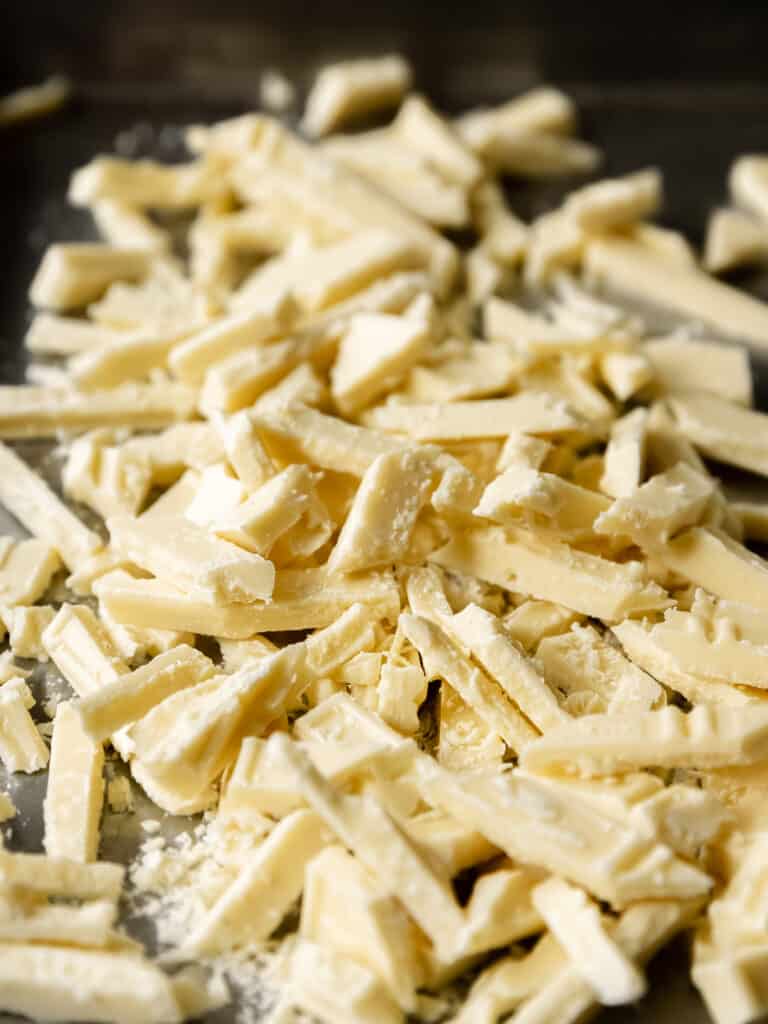
  • make sure your cocoa butter is listed as the first ingredient. this typically indicates your white chocolate is at least 29% cocoa butter which is the minimum required for this to work. anything lower and your chocolate will just clump together (which could be good for baking into cookies!) but it won't melt and smooth out.
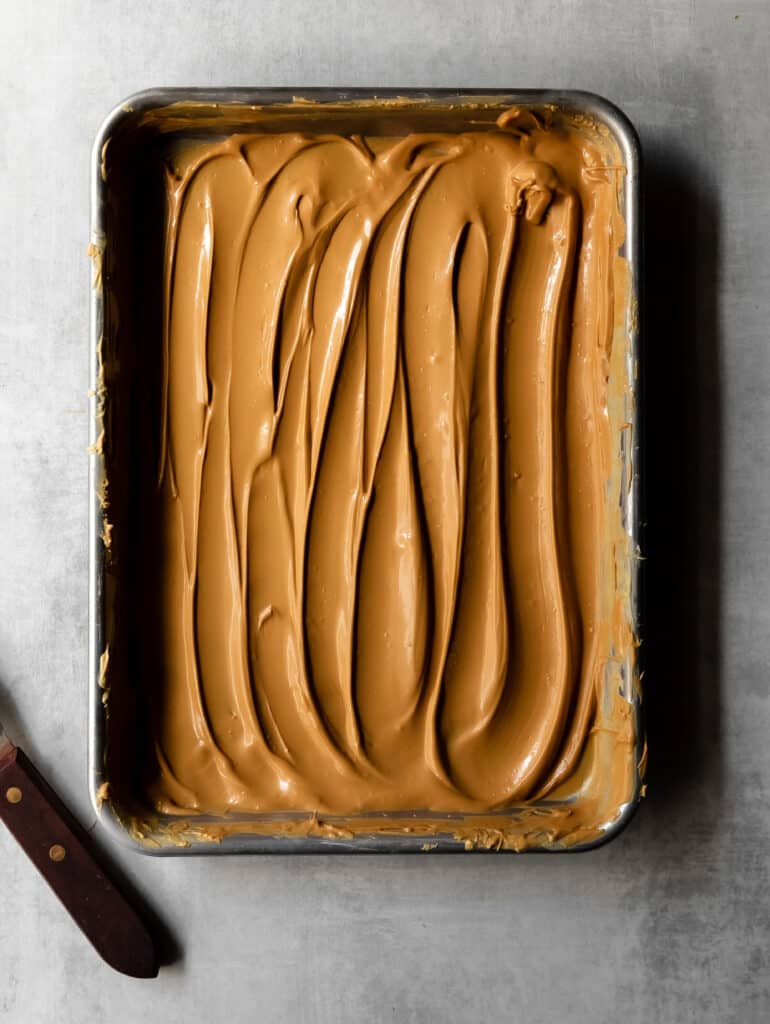
  • a spatula and/or a palette knife (used for spreading frosting) are the best tools to move the chocolate around as its caramelizing
  • you absolutely must stir all the chocolate and smear it back into a single layer. if you don't, the chocolate may burn.
  • you can use a silicone baking mat or parchment paper to line your baking sheet if desired, but for me it wasn't needed. your rimmed baking sheet should be very clean, dry and smooth.
coarsely chop white chocolate if using a bar. scatter the chocolate in a single layer on the baking sheet.
bake at 248 F (120 C) for 5-10 minutes. remove from the oven, stir and smear the chocolate bake into a single layer. place back in the oven for 10 minutes.
repeat the same process of stirring and smearing every 10 minutes for 40-60 minutes.
the white chocolate should begin to melt and become smooth and silky around minute 30-40. if the chocolate is chalky and clumping after this point, your heat may be too high or the white chocolate may not have had enough cocoa butter. you can still use the clumps as you would chocolate chips for baking.
when your desired color is reached (somewhere between the color of toffee and PB), stir and smear one last time. at this point, the caramelized chocolate can be poured directly into a glass jar or poured onto a parchment lined container to reform into bars.
you can use the caramelized white chocolate as you would normal white chocolate in any recipe. enjoy!

did you make this recipe?

tag @olivesnthyme on instagram

More chocolate and candy

  • White Chocolate Covered Strawberries
  • Chocolate Rice Krispies
  • Oreo Mug Cake
  • Chocolate Donuts

Reader Interactions

Comments

  1. Laura Thompson says

    June 14, 2021 at 7:55 pm

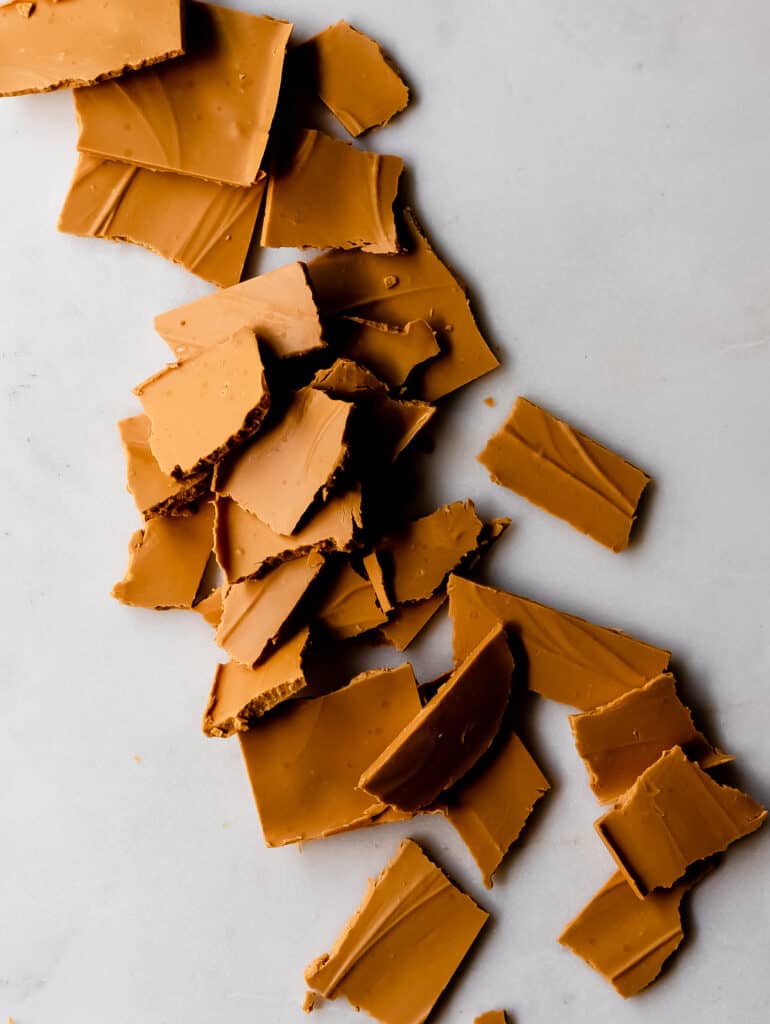
    It looks divine and I'm going to try it out this week. However, why would I store it in a jar? It seems to me that it would solidify to the point of being hard and then I wouldn't be able to get it out of the jar. I think breaking it into shards is the best bet. I would just like clarification on the "jar" thing.

    Thanks!

    Reply
    • Megan says

      June 15, 2021 at 2:32 pm

      Hi Laura,

      The option to store the chocolate in a jar is totally up to you! I like to store it in a jar if I'm planning on melting it at a later time. I have also poured it into a lined container, let it solidify and chopped it. Enjoy!

      Reply

Leave a Reply Cancel reply

Your email address will not be published. Required fields are marked *

Recipe Rating


Primary Sidebar

Hi friends, I'm Megan!

Welcome to my blog, Olives + Thyme. I am a food photographer and blogger with a love of all things sweet.

Here you'll find mostly sweet recipes that are simple to make and full of flavor.

Learn more about me

New Recipes

  • Strawberry Crunch Cake
  • Red Velvet Brownies
  • Strawberry Brownies
  • Oreo Dip

Cookbook

Sugar and Spice Cookies Cookbook with lavender brownie cookies on the front cover.

Learn more about Sugar + Spice Cookies

In season now

  • Apple Cobbler from Cake Mix
  • Maple Tahini Rice Krispie Treats
  • Mini Pancakes
  • Lemon Pancakes

As featured in

Privacy Policy

Footer

back to top

Privacy Policy

AS AN AMAZON ASSOCIATE I EARN FROM QUALIFYING PURCHASES.

Copyright © 2022 Olives + Thyme on the Brunch Pro Theme

111 shares
  • Facebook
  • Twitter
  • Pinterest
  • Email