

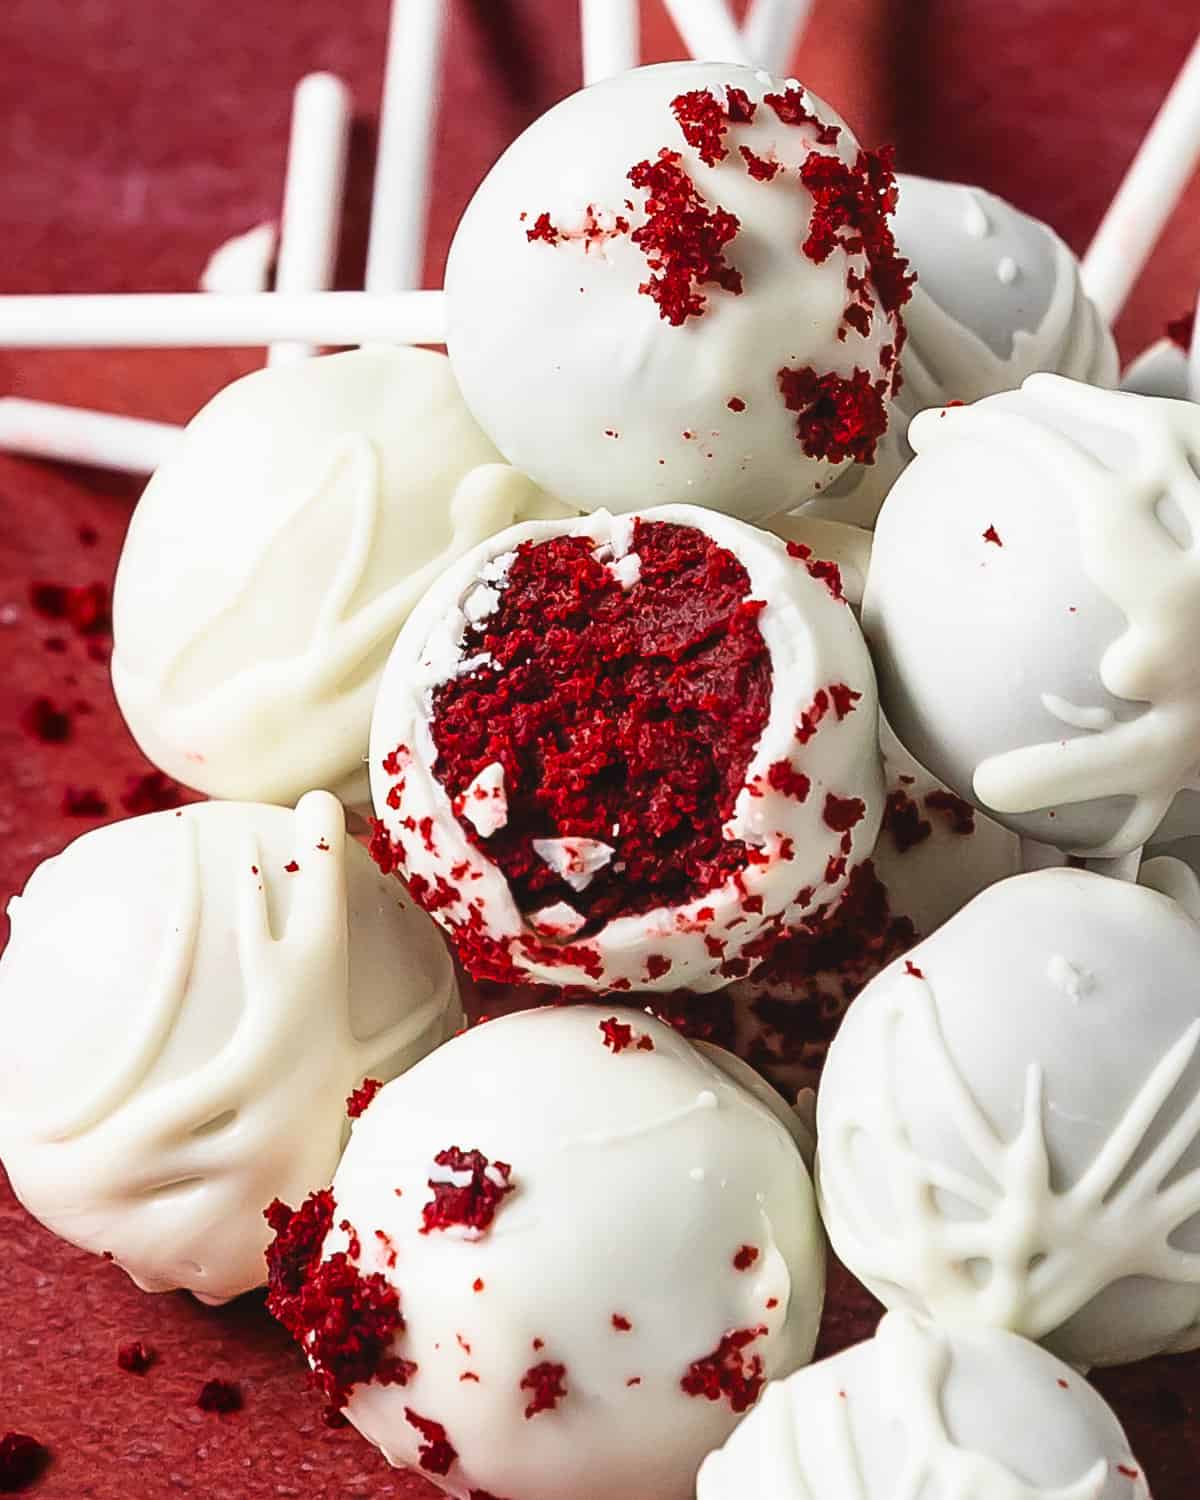
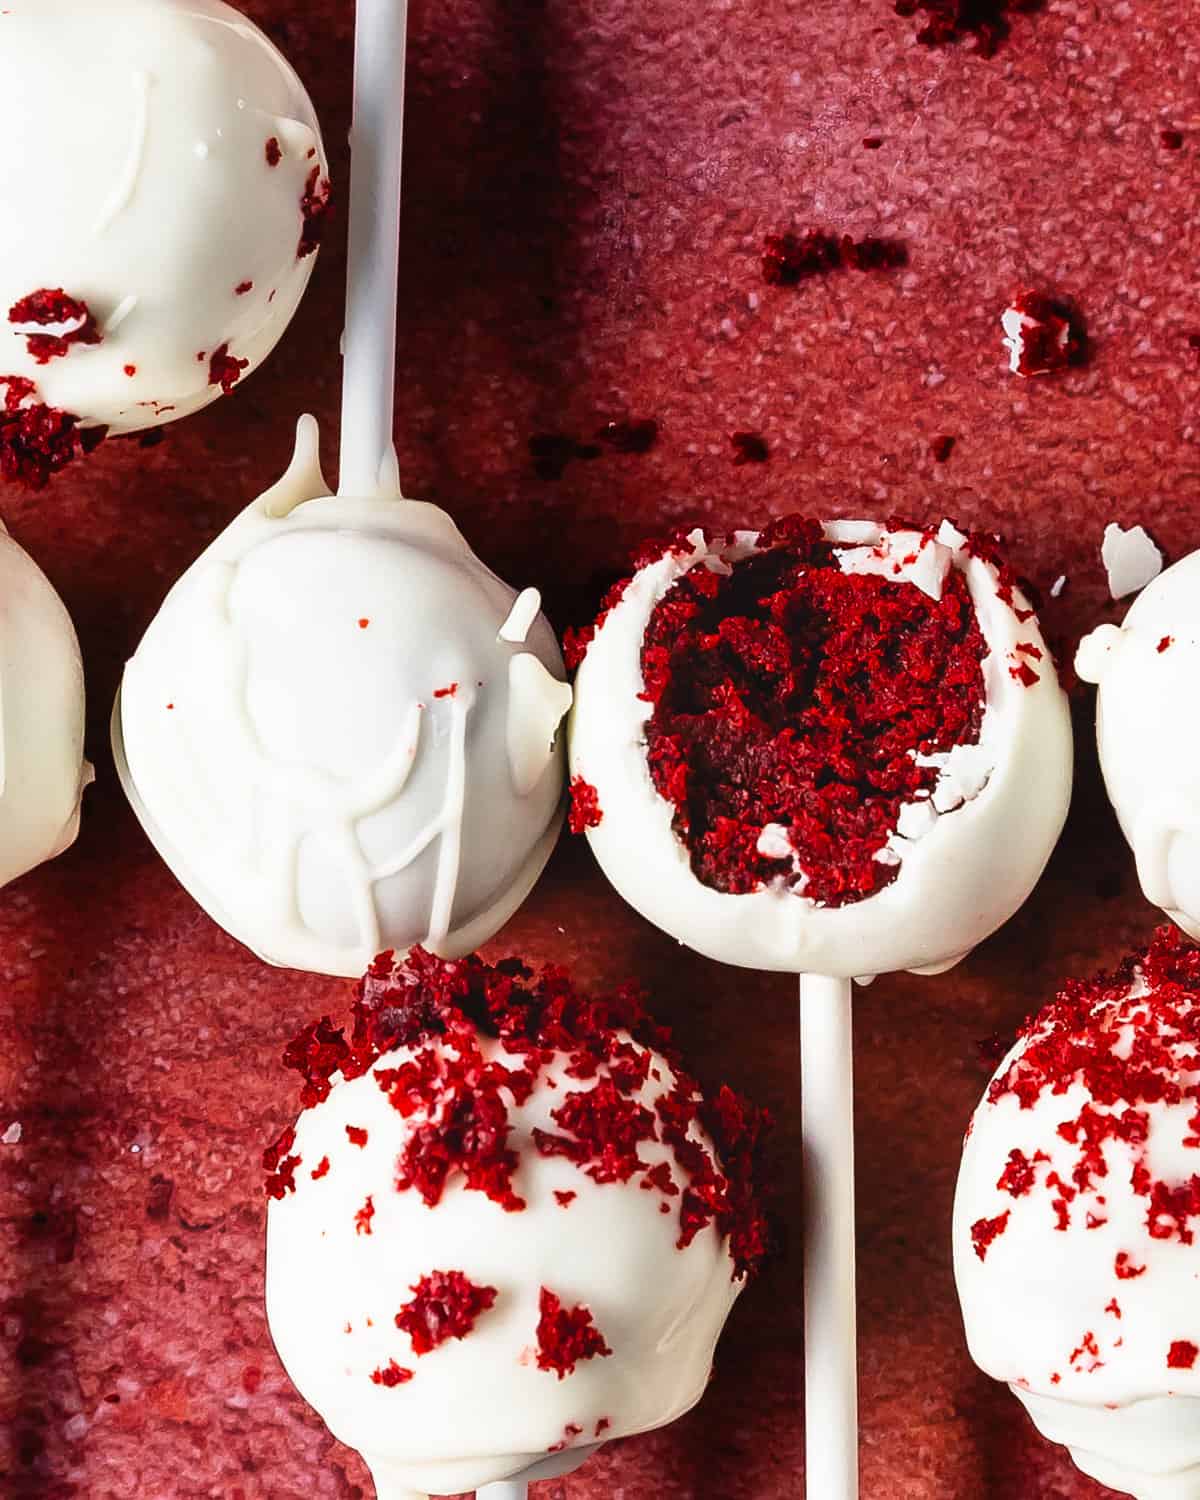
Red velvet cake pops are decadent and delicious red velvet cake balls made from red velvet cake and cream cheese frosting covered in white chocolate. These red velvet truffles are super simple to make using box cake mix, store bought frosting and white chocolate candy melts. They’re the perfect easy to make, holiday cake bites you can enjoy all year long.
Jump to:
Why Should You Make This Recipe
Red velvet recipes are some of my favorite recipes to make. My Red Velvet Cake Mix Cookies, Red Velvet Bundt Cake and Red Velvet Brownies are quick, easy and delicious red velvet cake inspired recipes that I love. These red velvet cake pops are the perfect addition to my growing collection of red velvet recipes.
- Easy one bowl dessert: These red velvet cake balls come together in one bowl. Just mix everything together in one bowl, chill for a bit, scoop, roll, dip and set.
- Lots of flavors and textures: These red velvet truffle pops are soft, sweet and moist pieces of cake enrobed in a crunchy white chocolate shell.
Ingredients
Before I show you how to make red velvet cake pops, make sure you have these simple ingredients ready to go!
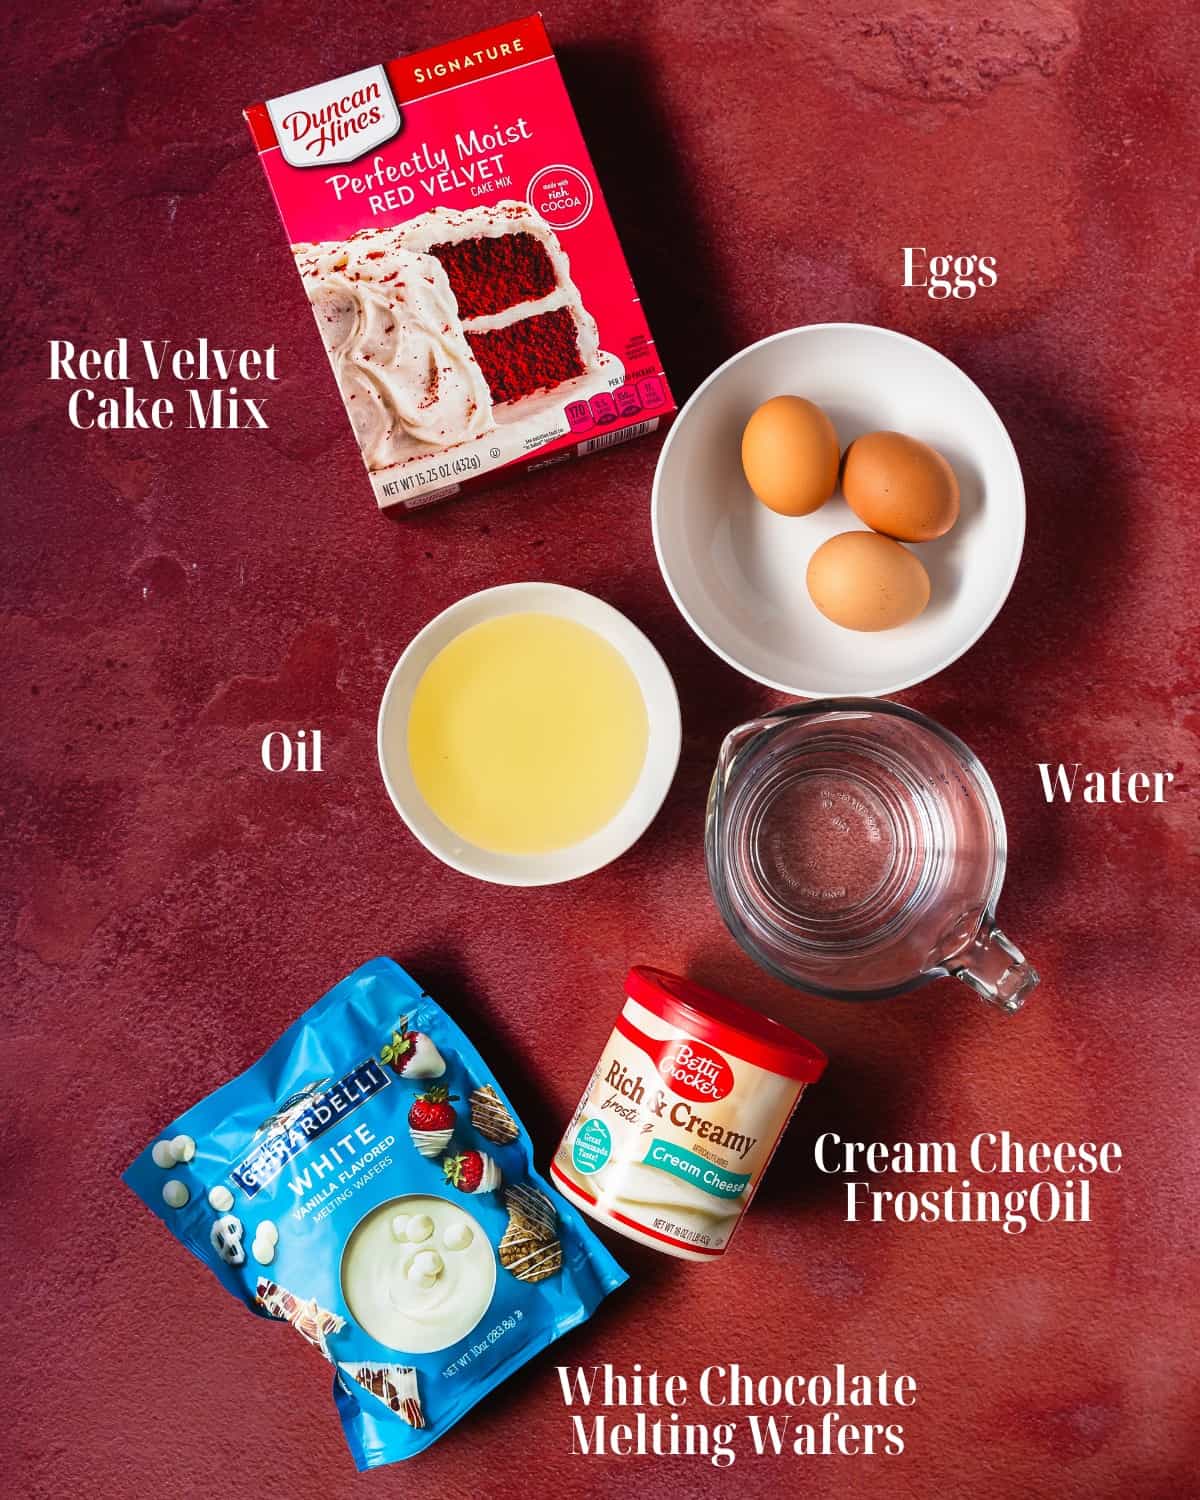
Gather your preferred red velvet cake mix, oil, eggs, water, cream cheese frosting and white chocolate melting wafers.
Substitutions
Making red velvet truffle pops is super simple. Here are my recommended substitutions to make these velvet white chocolate pops if you need them.
- Red Velvet Cake: Any brand or type of red velvet cake mix works perfectly in this recipe. I personally love to use Duncan Hines moist red velvet cake mix.
- Oil: The ingredients on the back of the cake mix box call for oil. Any neutral oil such a vegetable or canola oil will work well for the red velvet cake.
- Eggs: This cake mix red velvet cake hasn’t been without eggs. See the back of the box for possible substitutions.
- Cream Cheese Frosting: To make these red cake pops even easier and faster to make, use a store bought cream cheese frosting. For a homemade cream cheese frosting recipe, see the Variations section below.
- White Chocolate Melting Wafers: Use a white chocolate that’s made for coating food such as cake or fruit. White chocolate melting wafers are made to heat smoothly and evenly.
How To Make
Learn how to make red velvet cake pops in a few easy steps.
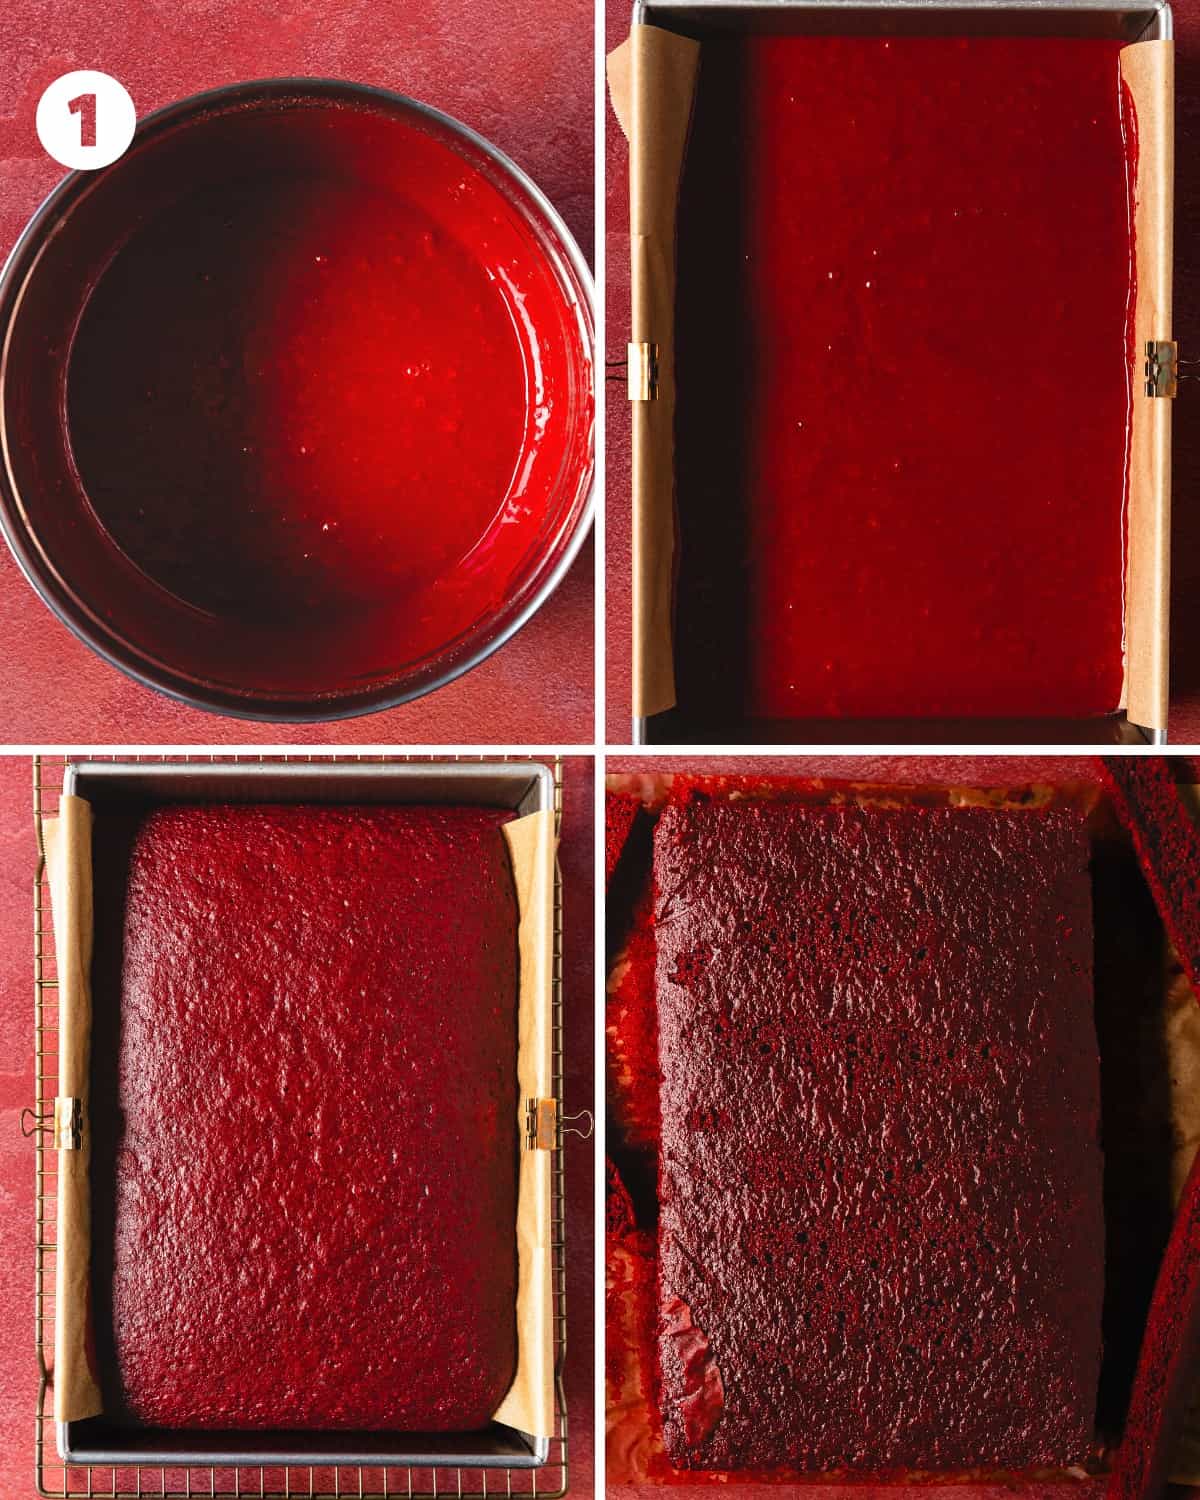
Bake the Cake
- Preheat the oven to 350 F (177 C). Line a 9 x 13 cake pan with parchment paper along the bottom and two long sides. In a mixing bowl, whisk the red velvet cake mix, eggs, oil and water until smooth and well combined. Pour the red velvet cake batter into the prepared pan. Bake for 20 - 25 minutes or until a toothpick inserted into the center comes out clean or with a few moist crumbs. Cool the cake in the pan for 15 minutes, then remove from the pan to cool to room temperature.

Prep the Cake Pops
- Once the red velvet cake has cooled completely to room temperature, trim the edges of the cake. Discard the edges or set aside to crumble on top of the cake pops. Crumble the remaining cake into a large mixing bowl. Scoop about ¼ - ½ cup of cream cheese frosting into the bowl. Mix until the cake and frosting easily holds together in a ball. Cover the bowl and transfer to the fridge to chill for 30 - 60 minutes or until completely chilled. Using a tablespoon (15 ml) cookie scoop, scoop the red velvet into balls. Place on a small lined baking sheet or large plate. Once all the cake has been scooped into balls, transfer the red velvet cream cheese balls to the fridge to chill for another 20 - 30 minutes.
- A few minutes before the red velvet cake bites are ready to dip into the white chocolate, pour 12 oz. of white chocolate melting wafers into a heat safe container. I like to use a heat safe measuring cup to make dipping the cake pops easier. Heat the white chocolate wafers in 30 second increments until fully melted, stirring in between each increment. Dip ¼ inch of the cake pop sticks into the melted white chocolate. Insert the chocolate covered part of the stick into the chilled red cake pop ball. Repeat for all the cake balls and return them to the fridge or freezer for about 10 minutes to set the chocolate and cake.

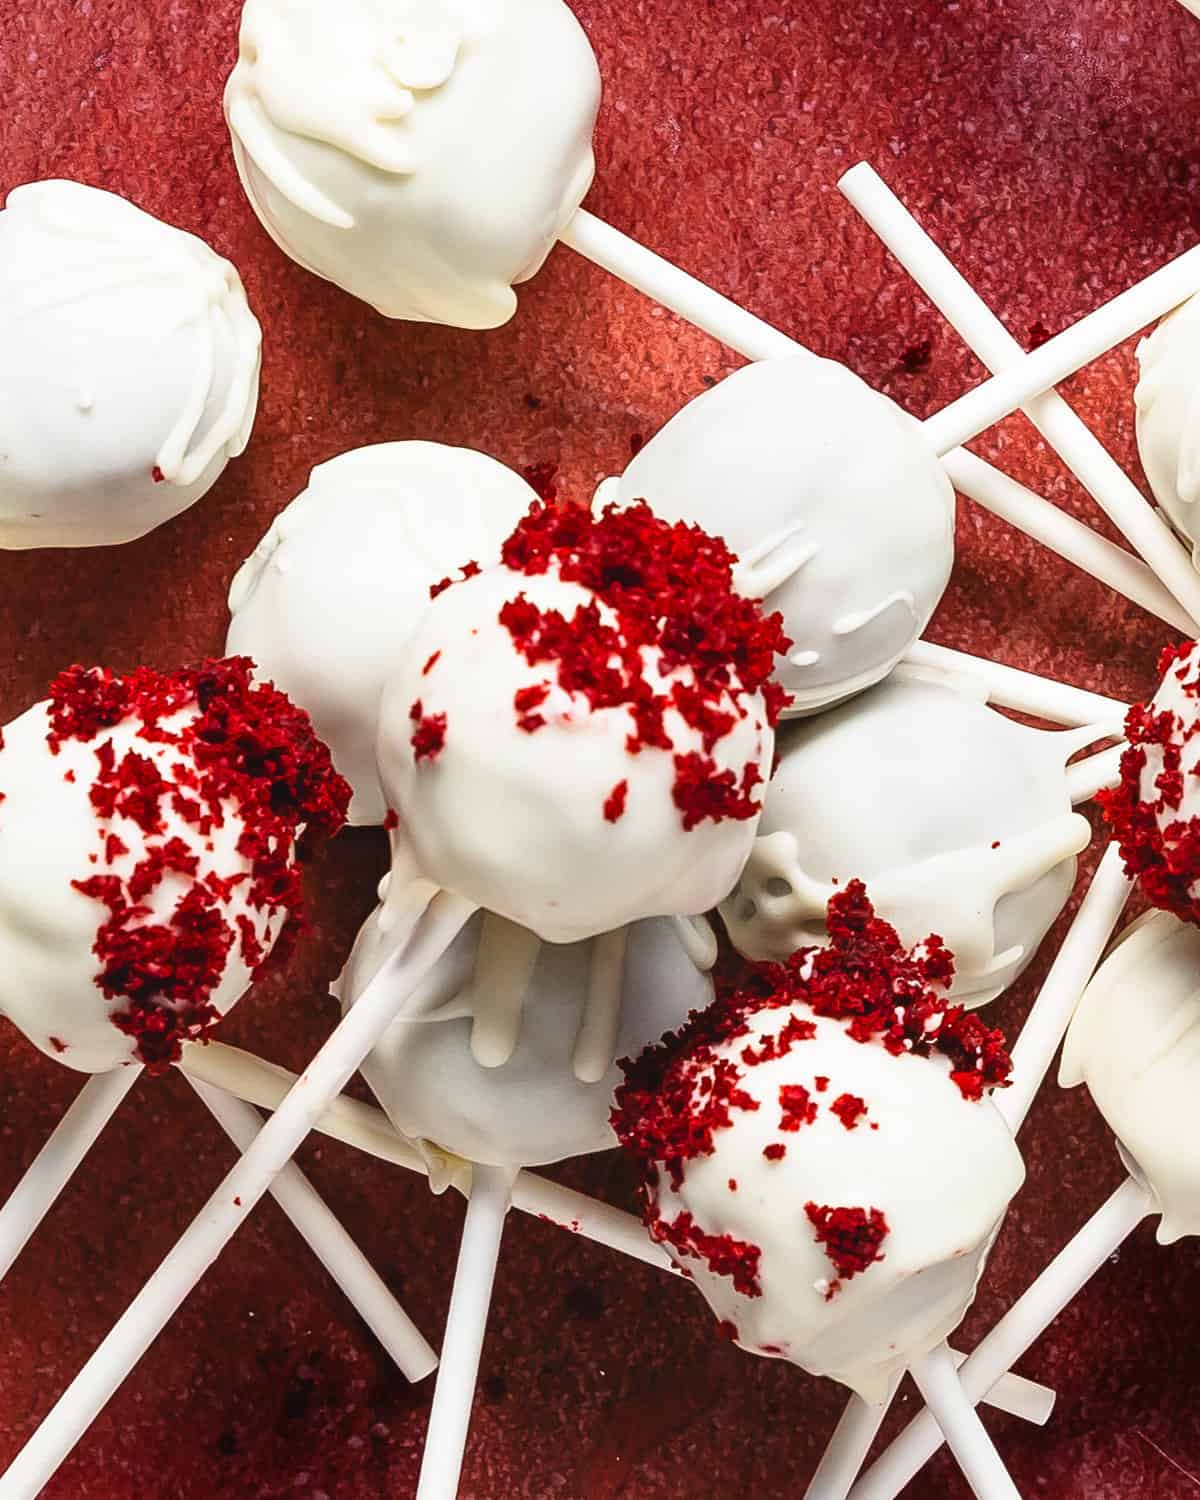
Make the Cake Pops
4. Reheat the white chocolate as it will have likely started to harden in some places. Dip each red velvet truffle ball into the melted white chocolate until fully coated. Insert the stick into a cake pop tray or solid styrofoam block. Allow 5 - 10 minutes to set the red cake pops. Repeat the all the remaining cake pops. If you would like to top the cake pops with crumbles of red velvet cake or sprinkles, all the chocolate to dry for 30 - 60 seconds, top the cake pops and allow them to set until fully dry.
How To Serve, Store, Freeze and Thaw
- Store: Store the red velvet cake mix cookies in an airtight container in the fridge for up to 5 days. Store the cake bites in a single layer. If another layer is needed for storage, separate each layer of cake pops with wax paper.
- Freeze: Make sure the red velvet cake pops are completely set. Transfer the cake bites to an airtight, freezer proof container. Store in the freezer for up to 3 months.
- To thaw the cookies: The easiest and tastiest way to thaw the red velvet cake pops is to transfer them to the fridge to thaw overnight.
M’s Expert Tips
- Cool the cake: This recipe for red velvet cake pops will not work if the cake is warm. The frosting will melt into the cake and the cake bites will not hold together properly.
- Keep the cake and cream cheese mixture cold. The cake balls hold a ball shape more easily when the mixture is cold. Make sure to chill the mixture before scooping the cake mix into bite sized cake truffles.
- Use a cookie scoop: I highly recommend using a cookie scoop so all cake bites are the same size and shape.
- Use chocolate melting wafers. Melting wafers or white chocolate “bark” melt and remelt more easily. This type of candy coating also hardens more quickly than regular chocolate.
FAQs
Yes, candy coating is the best type of chocolate for coating cake pops.
It’s important not to make the cake balls too big. A tablespoon sized cake ball is a good two bite sized cake pop. Make sure to keep the dough covered with plastic wrap until the truffle cake pops have been coated in the white chocolate.
Make sure the cake is completely cool. When crumbling the cake, the finer the crumb, the better. Use only enough frosting to for the cake crumbs to easily hold a ball shape after chilling for 30 minutes. Typically ¼ - ½ cup (59 - 118 ml) cream cheese frosting will work. Make sure to keep the cake mixture covered to prevent the cake from drying out. Keep the cake balls cold, but not frozen prior to dipping them in the white chocolate.
Other Cake Mix Recipes
If you try this Red Velvet Cake Pops recipe please rate the recipe and leave a comment below. Doing so helps other readers decide if this is a great recipe to bake. Don’t forget to tag me on Instagram using @olivesnthyme so I can see what you’re baking!

Red Velvet Cake Pops
Equipment
- 1 9X13 cake pan
- 1 parchment paper
- 1 large mixing bowl
- 1 small cookie scoop (1 tbsp, 15 ml)
- 1 microwave safe bowl or cup
- 1 cake pop stand or styrofoam block
Ingredients
- 1 15.25 oz. red velvet cake mix
- 1 cup (237 ml) water
- ½ cup (118 ml) oil
- 3 large eggs, room temperature
- ¼ - ½ cup cream cheese frosting
- 12 - 16 oz. white chocolate melting wafers
Instructions
- Preheat the oven to 350 F (177 C). Line a 9 x 13 cake pan with parchment paper along the bottom and two long sides.
- In a mixing bowl, whisk the red velvet cake mix, eggs, oil and water until smooth and well combined. Pour the red velvet cake batter into the prepared pan.1 15.25 oz. red velvet cake mix, 1 cup (237 ml) water, ½ cup (118 ml) oil , 3 large eggs, room temperature
- Bake according to the box mix directions, for 20 -25 minutes or until a toothpick inserted into the center comes out clean or with a few moist crumbs. Cool the cake in the pan for 15 minutes, then remove from the pan to cool to room temperature.
- Once the red velvet cake has cooled completely to room temperature, trim the edges of the cake. Discard the edges or set aside to crumble on top of the cake pops. Crumble the remaining cake into a large mixing bowl.
- Scoop about ¼ - ½ cup of cream cheese frosting into the bowl. Mix until the cake and frosting easily holds together in a ball. Avoid the temptation to add more frosting than is needed for the cake to hold a ball shape. Cover the bowl and transfer to the fridge to chill for 30 - 60 minutes or until completely chilled.¼ - ½ cup cream cheese frosting
- Using a tablespoon (15 ml) cookie scoop, scoop the red velvet into balls. Place on a small lined baking sheet or large plate. Once all the cake has been scooped into balls, cover and transfer the red velvet cream cheese balls to the fridge to chill for another 30 minutes.
- A few minutes before the red velvet cake bites are ready to dip into the white chocolate, pour 12 oz. of white chocolate melting wafers into a heat safe container. I like to use a glass measuring cup to make dipping the cake pops easier. Heat the white chocolate wafers in 30 second increments until fully melted, stirring in between each increment.12 - 16 oz. white chocolate melting wafers
- Dip ¼ inch of the cake pop sticks into the melted white chocolate. Insert the chocolate covered part of the stick into the chilled red cake pop ball. Repeat for all the cake balls and return them to the fridge or freezer for about 10 minutes to set the chocolate and cake.
- Reheat the white chocolate as it will have likely started to harden in some places. Dip each red velvet truffle ball into the melted white chocolate until fully coated. Insert the stick into a cake pop tray or solid styrofoam block. Allow 5 - 10 minutes to set the red cake pops.
- Repeat the all the remaining cake pops. If you would like to top the cake pops with crumbles of red velvet cake or sprinkles, all the chocolate to dry for 30 - 60 seconds, top the cake pops and allow them to set until fully dry.

Leave a Reply