

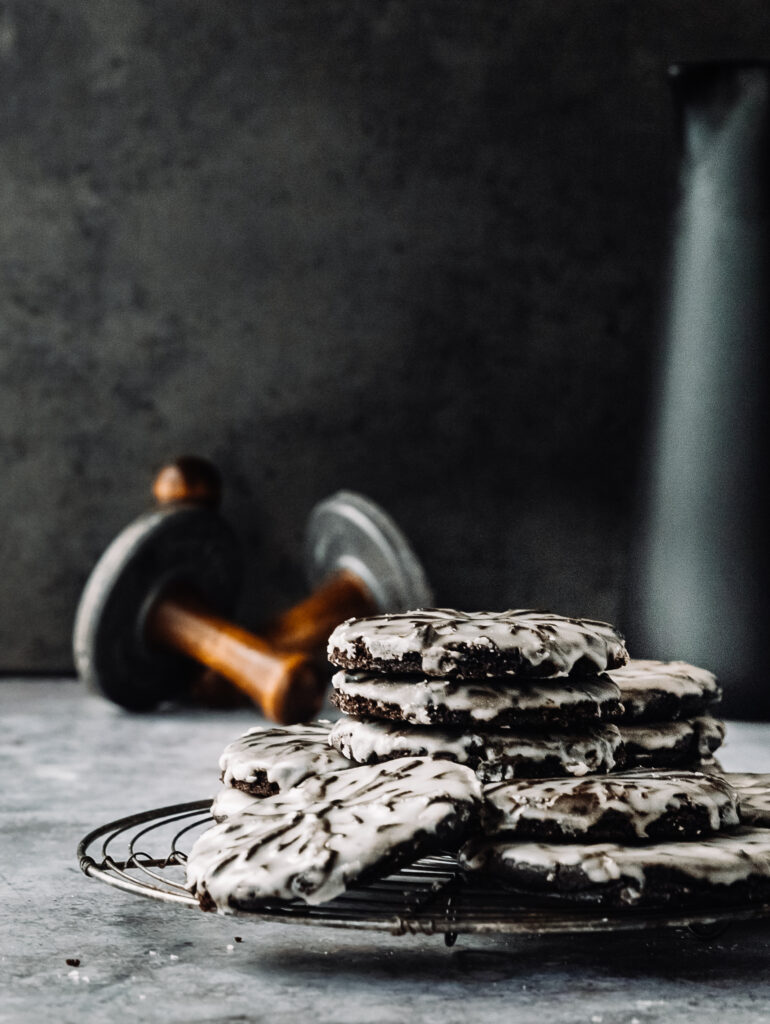
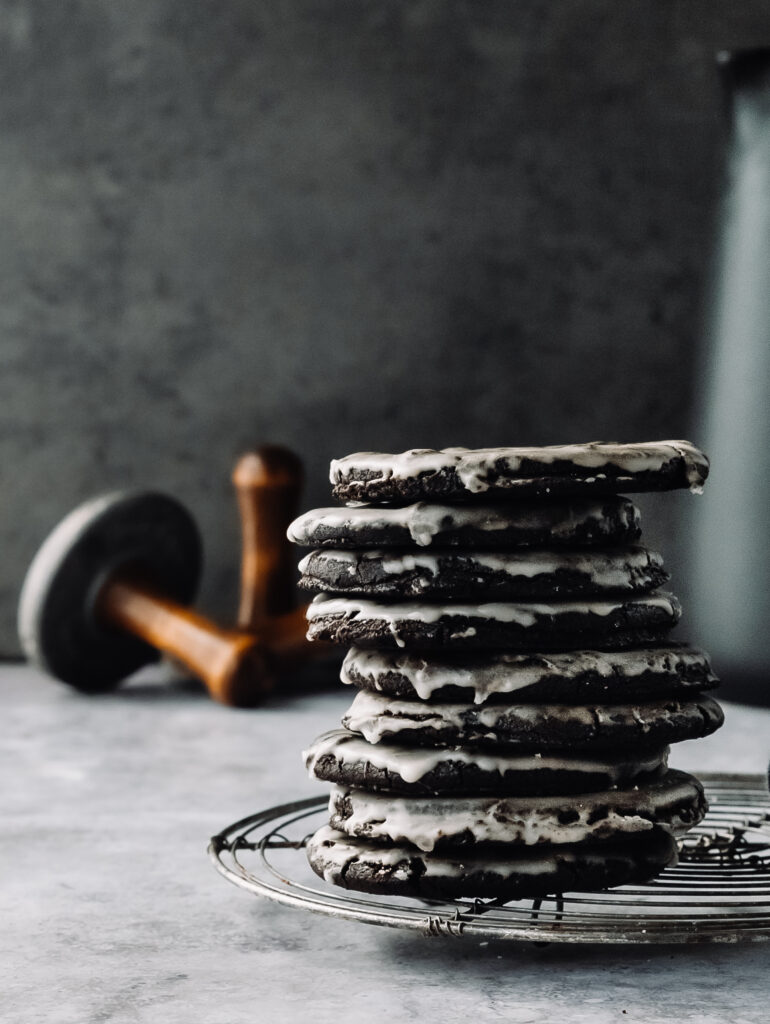
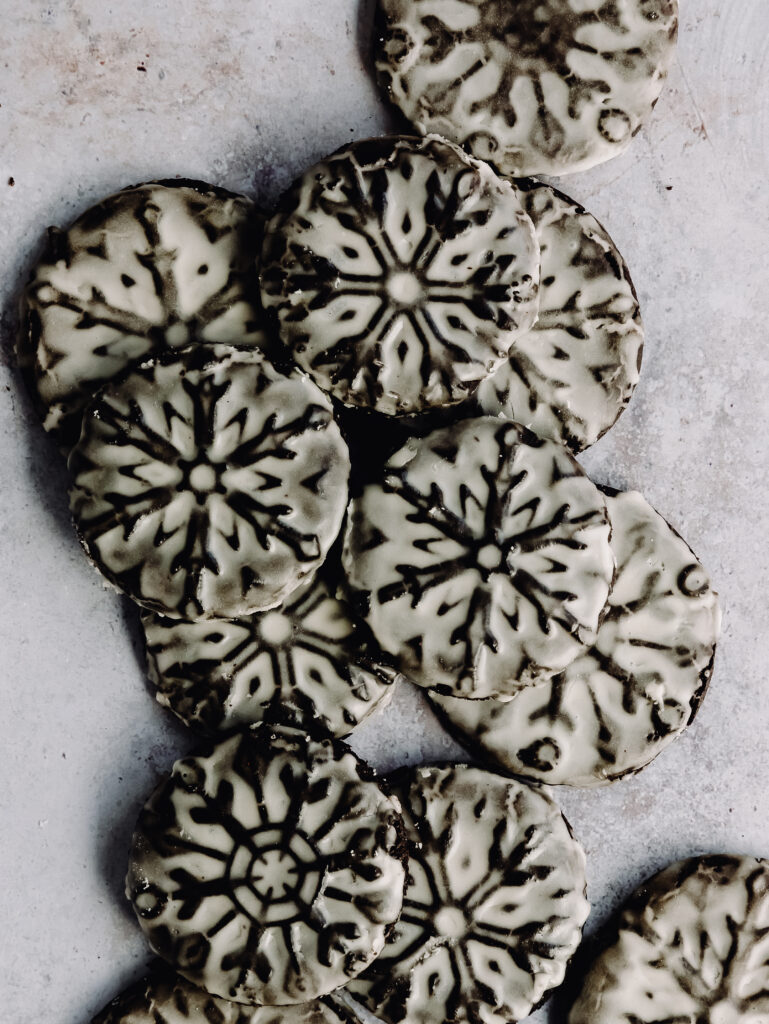
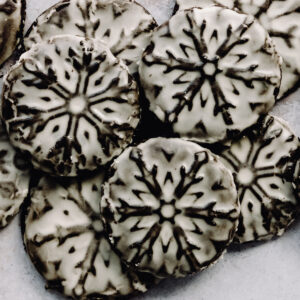
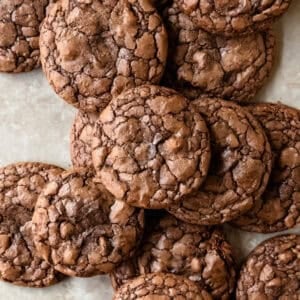
ready for another gingerbread recipe? I love gingerbread year round. so I'm fitting as many gingerbread recipes into this month as possible! for this recipe, I had to make a cookie, but not just any cookie. chewy chocolate gingerbread cookies stamped into snowflakes! they're festive, spicy and so delicious.
speaking of delicious, these cookies are best described as:
- rich
- chocolate-y
- chewy
- spicy
- dark
- sweet, but not overly sweet
- like a holiday spiced Oreo
- irresistible
- picky kid approved (he ate 5 in one sitting)
let's talk ingredients:
as always, this recipe uses ingredients you most likely have in your pantry. if not, add these to your cart!
- medium or light rye flour (or all purpose)
- dutch process cocoa
- black cocoa
- ground spices: ginger, cinnamon + allspice
- salt
- unsalted butter
- unsulphured molasses
- granulated sugar
- light brown sugar
- eggs
- powdered sugar
- vanilla extract
don't forget the baking tools:
to make these chewy chocolate gingerbread cookies, you will need to have these baking tools
- cookie stamps or holiday cookie cutters
- large baking sheet
- parchment paper
- cookie scoop or rolling pin
- pastry brush
- stand mixer with paddle attachment or electric hand mixer with beaters

to stamp or not to stamp:
these cookies have been in the works since last year. I picked up some beautiful cookie stamps from Target and wanted to use them in a recipe. needless to say, the recipe attempts failed. so, this year I tried once more. after two attempts at the recipe, I finally landed on this version. but, I know many people do not have cookie stamps at home. so, I provided some alternatives. I also discovered two ways to press cookies while I was developing this recipe. after learning two ways, I decided to give you both! choose the version that best suites what you want to bake!
stamped cookie dough balls:
in the end, this way was the easiest and produced cookies that keep their stamped shape. for this version, simply:
- scoop out 2 tablespoon of chilled cookie dough
- place the cookie dough ball in the center of the stamp
- press the cookie stamp firmly down
- once the dough reaches the edges, gently lift the cookie stamp up
- gently release the cookie dough onto the baking prepared baking sheet
- the con: the cookie dough can stick a bit to the cookie stamp
- fix this: make sure the dough is chilled
- chill the stamps every 2-3 cookies (of you are using more than 1 cookie stamp)
- lightly spray the cookie stamp with non stick spray
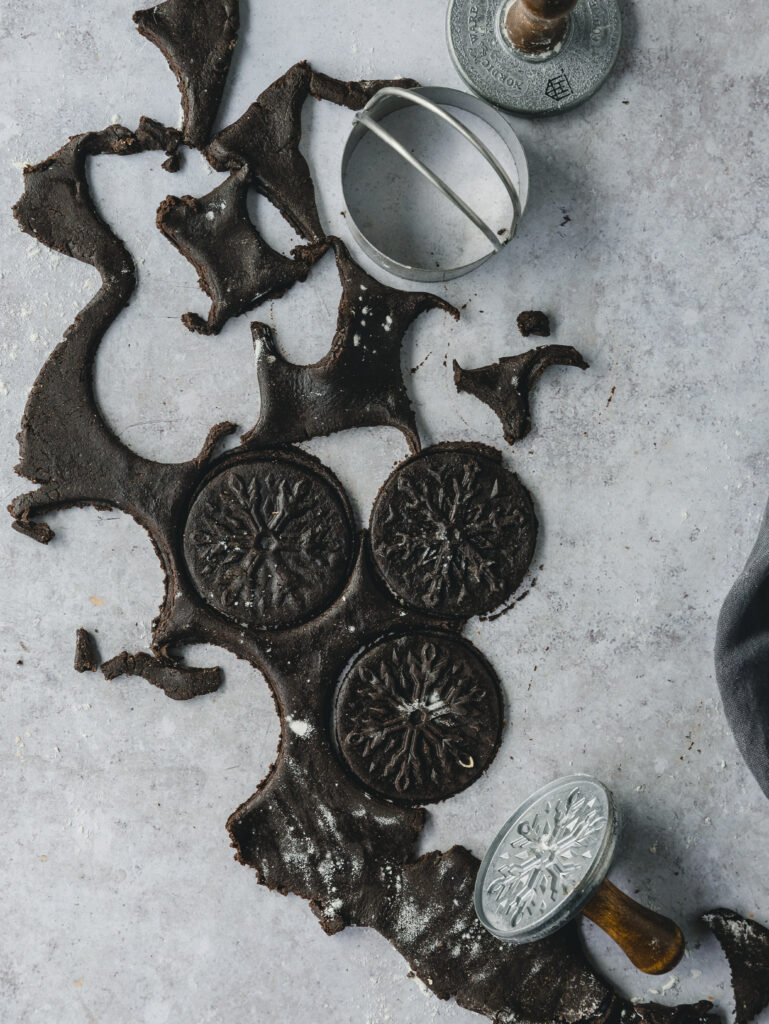
rolled out dough stamp or cut out cookies:
this way is more like the classic way of preparing sugar or gingerbread cookies. this is the way I used while developing the recipe. in the end, I found the cookies sometimes kept their stamp designs, sometimes they didn't. they did spread a touch, but otherwise where perfectly round and very similar in size. looking back, I would think rolling it out would be perfect for cutting out shapes. for this version, simply:
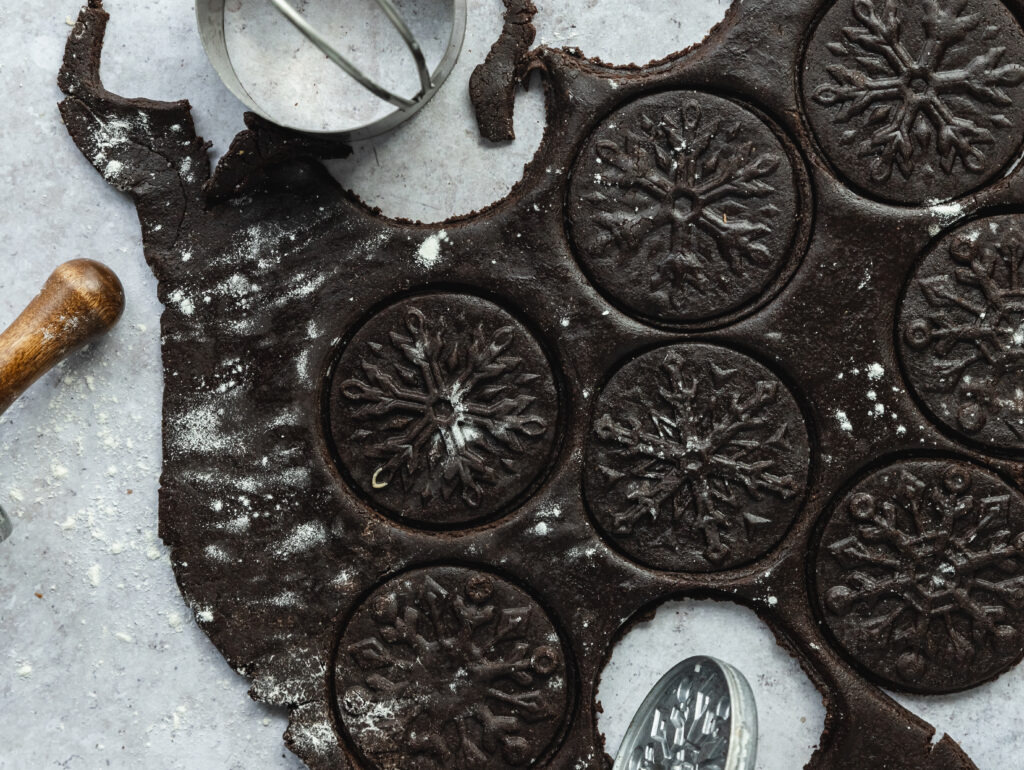
- roll out the chilled dough onto a lightly floured surface
- press the cookie stamp or cutter into the dough
- repeat until all the dough has been pressed or cut
- remove the excess dough
- roll the dough back into a disk
- store in the fridge wrapped in plastic wrap until ready to roll out for the next batch
- transfer the cookies to a baking sheet
- the con: I found the cookies didn't keep their stamp design as well. however, they should keep a cut out shape nicely as they don't spread too much.
tips for the best cookies:
- chill the dough for 15-30 minutes
- re-chill the dough if it begins to stick at any point
- 15-20 minutes should work
- use an oven thermometer
- if you don't like the taste of rye, use all purpose
- preheat the oven for 20 minutes
- use parchment paper
- keep unused dough in the fridge in between baking batches
- cool cookies on the hot cookie sheet for no longer than 5 minutes
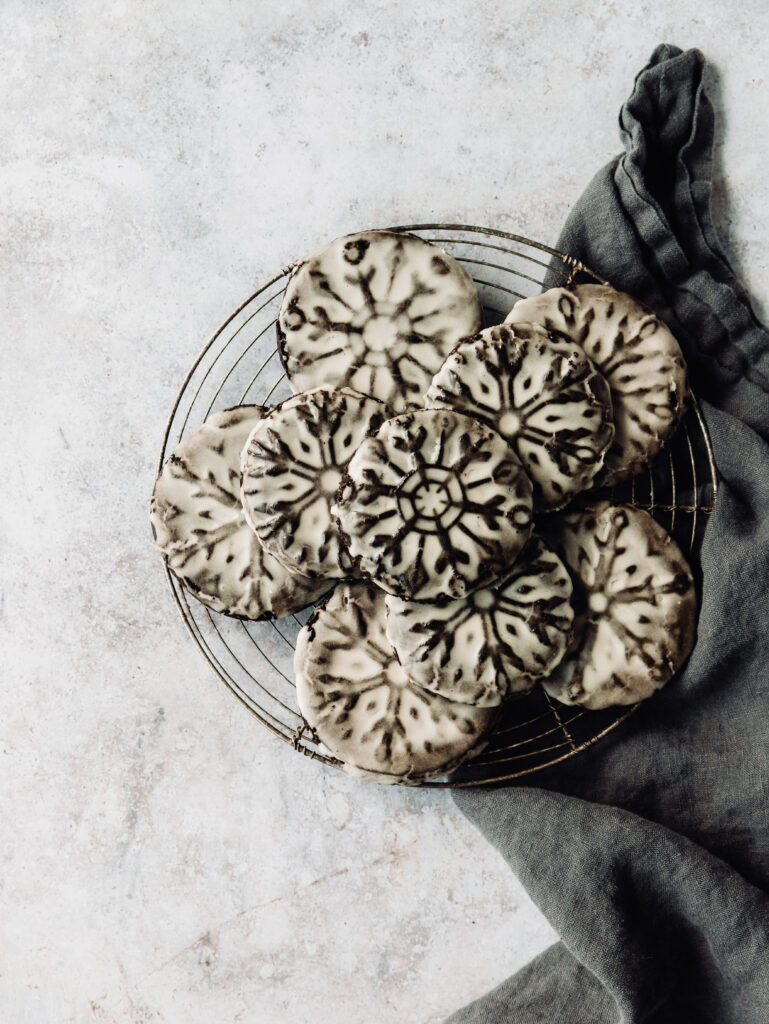
- allow cookies to cool completely before glazing
- brush glaze on versus dipping
- let the glaze set completely before eating (if you can!)
- store cookies at room temperature in an airtight container for up to 5 days

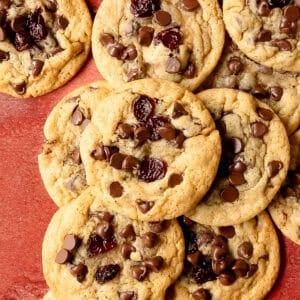
love gingerbread? check out these recipes:
chewy chocolate gingerbread cookies
Equipment
- baking sheet
- parchment paper or silpat
- stand mixer with paddle attachment or eletric hand mixer with beaters
- snowflake cookie press or other cookie cutter
Ingredients
chewy chocolate gingerbread cookies
- 1 ¾ c (185g) medium or light rye flour sub with 1 ½ c (180g) all purpose
- ⅓ c (28g) dutch process cocoa powder see notes
- ⅓ c (28g) black cocoa powder see notes
- 1 tsp ground ginger
- 1 tsp ground cinnamon
- ¼ tsp all spice
- ¼ tsp salt
- 6 tbsp (85g) unsalted butter, evenly cubed at room temperature see notes
- ¼ c (59ml) molasses see notes
- ½ c (100g) granulated sugar
- ½ c (100g) light brown sugar
- 1 large egg yolk, room temperature
vanilla glaze
- 1 c (120g) powdered sugar, sifted
- 1 tbsp (14g) unsalted butter, melted
- ¼- ½ tsp (1-2.5 ml) vanilla extract to taste
- 1-2 tbsp (15-30ml) water to desired consistency
Instructions
- Place the cookie stamps in the freezer (this makes pressing the cookie out easier). If cutting out into shapes, skip this step. In mixing bowl, whisk together the flour, spices and cocao powder. Whisk well to thoroughly combine the dry ingredients. Set aside.
- In a stand mixer with paddle attachment or with electric hand mixer with beaters, cream together the butter, sugar and molasses on low speed, increasing to medium speed. Cream together until smooth and well combined. Beat in the egg yolk until well combined.
- On the lowest speed, or by hand, mix in the ¼ of the dry ingredients at a time. Beat each time until the dry ingredients just incorporate (you will still see flour streaks). Beat a final time until the dough just comes together. There may be some crumble especially at the bottom of the mixing bowl. Gently dump the dough onto a piece of plastic wrap. Collect and stray pieces of dough and gently shape the dough into a disk (think of this like making a pie crust). Wrap in the plastic wrap and chill in the freezer for 15-20 minutes. During the chill time, preheat the oven to 375F. Line a baking sheet with parchment paper and set aside.
Press stamp cookies**
- This is perhaps the easiest way to prepare these cookies. Remove the cookie dough from the freezer. Scoop the dough into 2 tablespoon size balls. A cookie scoop is great for this! Lightly spray the cookie stamp with non stick spray (you may have to respray every 2-3 cookies)Place the cookie dough ball in the center of the stamp. Press down firmly until the dough has fully reached the edges of the stamp. Gently lift up and release the cookie onto the prepared baking sheet. Repeat for the next 6-8 cookies. Place any unused dough wrapped in the plastic wrap in the fridge while the next batch bakes.
Cut out stamp cookies**
- Remove the cookie dough from the freezer. Roll out the cookie dough on a lightly floured surface to ¼" thick, much the same way as making a pie crust. Remove a cookie stamp from the freezer. Press the stamp all the way down through the dough. Gently lift the cookie stamp. Repeat for 2-3 cookies before switching to another stamp (if using more than one). Repeat until most of the dough has been cut. Store unused dough wrapped in the plastic wrap in the fridge while the next batch bakes. Transfer the cookies to the prepared baking sheet.
Cut out cookies (traditional shapes)
- Remove the cookie dough from the freezer. Roll out the cookie dough on a lightly floured surface to ¼" thick, much the same way as making a pie crust. Press the cookie cutter through the dough. Gently twist and release. Repeat until most of the dough has been cut. Transfer the first batch of cookies to the prepared baking sheet. Store unused dough wrapped in the plastic wrap in the fridge while the next batch bakes.
Baking and Glazing
- Bake the cookies at 375 F for 6-8 minutes. The cookie will be set, but still soft when it is ready. Remove from the oven and cool on the hot baking sheet on a cooling rack for 3-4 minutes. Gently transfer the cookies to a cooling rack for another 20-20 minutes. Cookies should be completely cool before applying the glaze. For the glaze: Mix the powdered sugar, vanilla extract and melted butter together. Add 1 tablespoon water at a time to reach the desired consistency. Brush the glaze onto the cooled cookies. Alternatively you can gently dip the tops of the cookies into the glaze, but I find brushing with a pastry brush works better. Allow the glaze to set for 30-45 minutes and enjoy!

Leave a Reply