

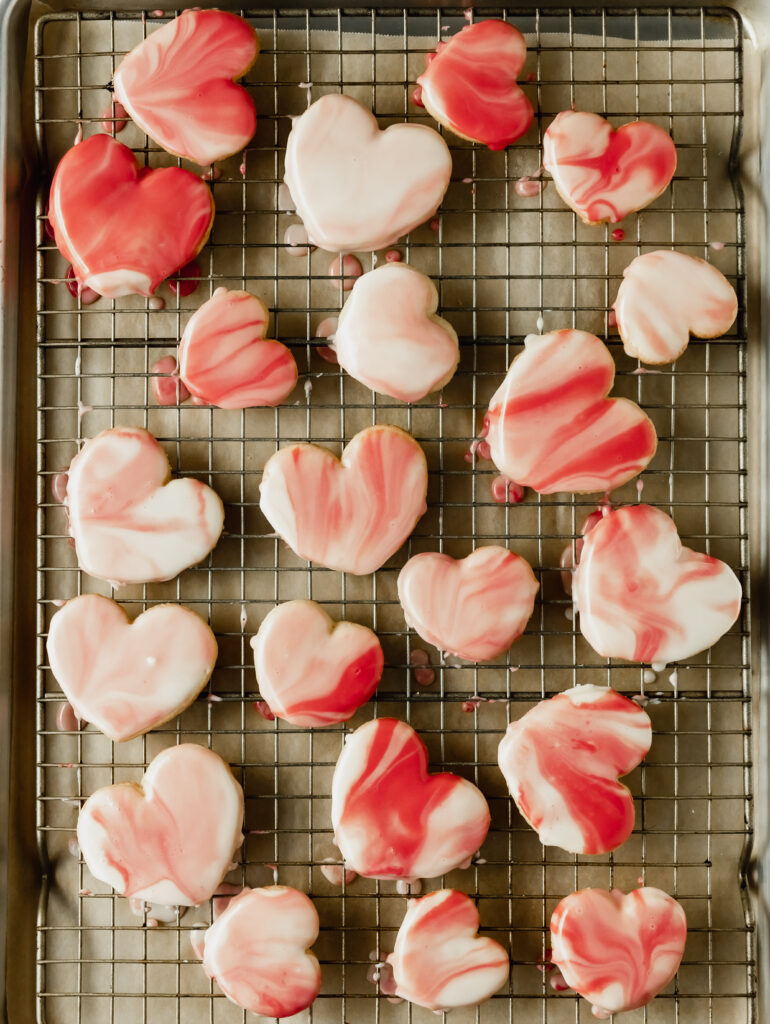
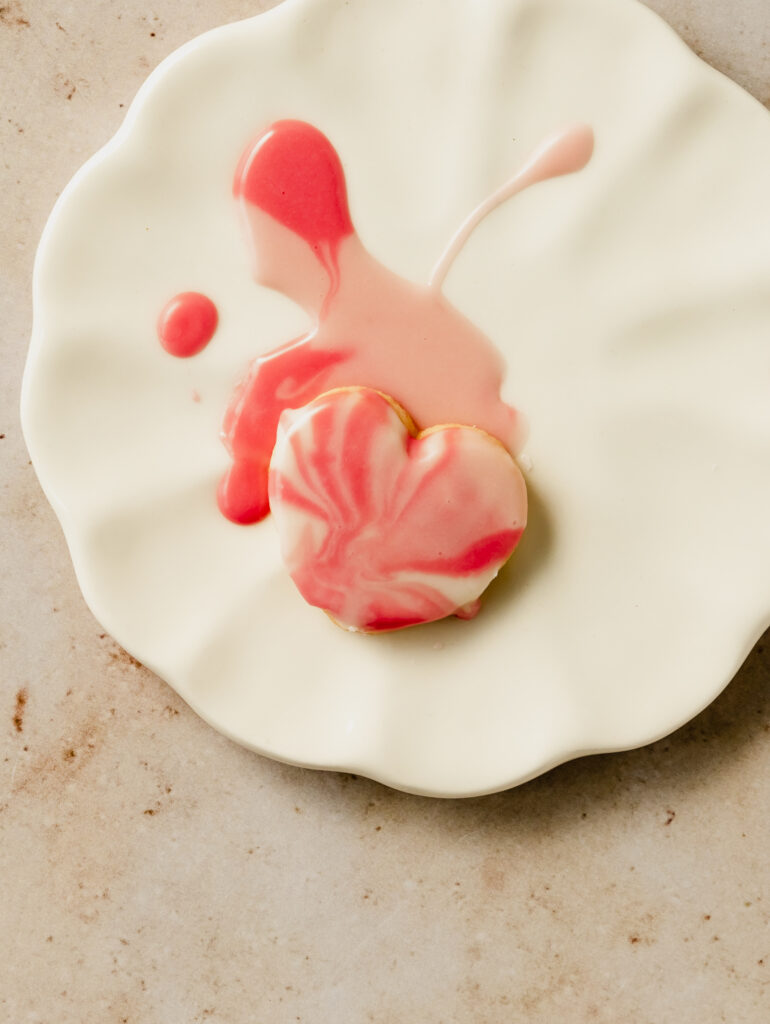
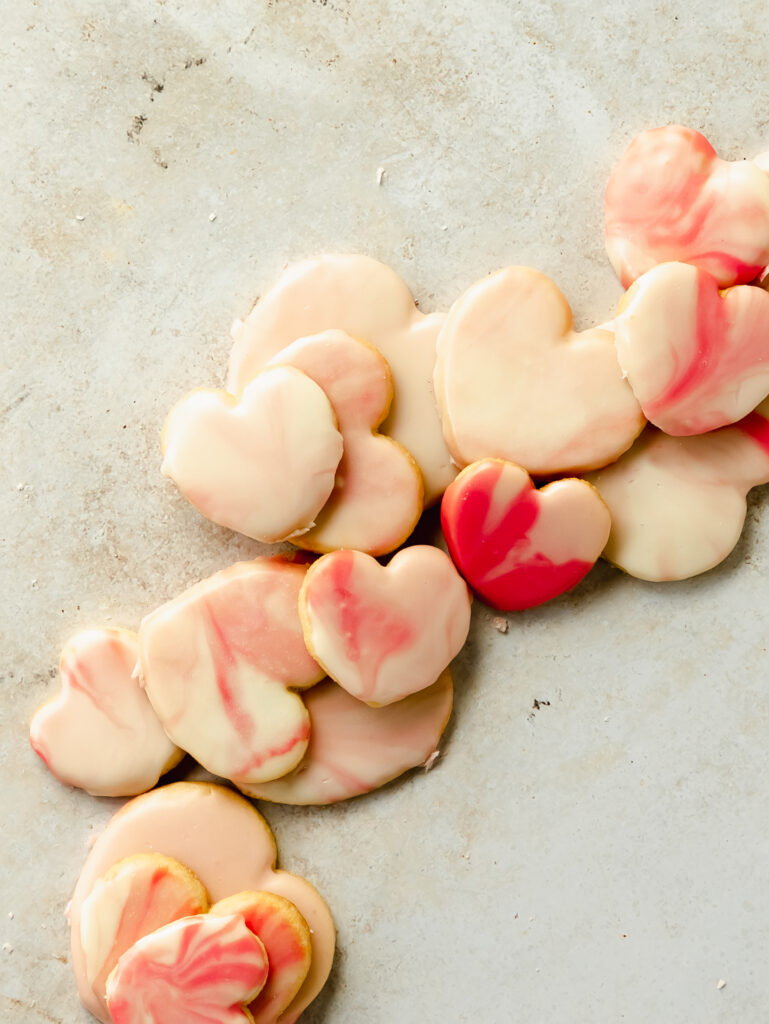
happy february! let me start off by saying that for many, many years I thought valentines day was silly. but, once I had kids and they started calling it, "heart day," well, my heart melted. now, I secretly look forward to this holiday. this year, I wanted to make something extra special for them. these marbled heart sugar cookies are so much fun to make and eat! I have to say, I felt a little like a kid when I saw the final results. my kids have requested them (again) for the actual "heart day."
these gorgeous cookies can best be described as
- crisp edges
- slightly chewy centers
- buttery
- sweet
- hint of almond and full vanilla flavor
- bakery worthy
- fun to make
- even more fun to eat

sweet ingredient list
these marbled heart sugar cookies use pantry basics, love that!
- all purpose flour (my favorite brand)
- almond flour
- baking powder
- salt
- unsalted butter
- granulated sugar
- egg
- vanilla extract (I use and love this one)
- almond extract
- powdered sugar
- food coloring
- I used regular food coloring here
- you can try natural food coloring, but I suspect the colors may not be as vibrant
- light corn syrup
- optional
- makes the set glaze shiny
baking tools for the perfect sugar cookie
you can make most of this by hand. but, these are the tools I recommend for the best version of these cookies
- stand mixer with paddle attachment
- or hand mixer with beaters and large mixing bowl
- full and half sheet baking sheets
- plastic cling wrap
- parchment paper (preferred over silpat for these cookies)
- heart shaped cookie or biscuit cutters
- I used these biscuit cutters and LOVE them
- large cooling rack (or two)
step by step to the perfect marble
these marbled heart sugar cookies are so easy to make once you learn the technique!
these marbled cookies are perfect for
I now want to marble all cookies! seriously, these are so fun to make. each one is unique, which I love even more. the kids can help which makes them all the sweeter. I can see these cookies being perfect for:
- class parties
- if your kid's school allows this
- omit almond flour and almond extract for any class allergies
- use 1:1 gluten flour if needed (use the weight of 240g)
- cookie exchanges with friends and neighbors
- once fully set, these cookies hold up well to handling
- place each one in a separate decorative bag for easy gifting
- teacher gifts
- honestly, after the last couple of years (covid), teachers deserved ALL THE THINGS
- as a former teacher, I loved receiving homemade gifts
- a gift card attached to a batch of freshly baked cookies would totally make their day!
- wedding/baby showers/birthday parties
- the colors can match the color theme
- cookies can be wrapped in individual decorative bags
- any holiday
- im not kidding when I said I will marble any and every cookie that can be marbled!!
tips + tricks for the perfect cut out sugar cookie
- use room temperature butter
- press into the butter with your thumb
- it should leave an indentation, but not slide off
- use almond extract to bring out the vanilla flavor
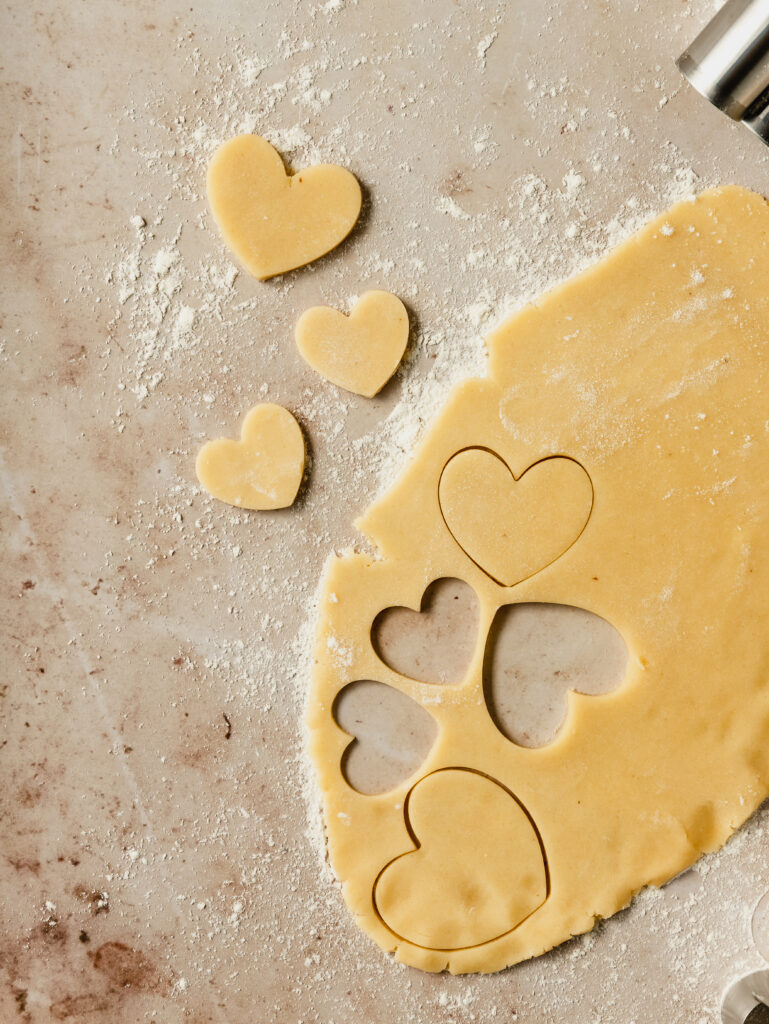
- roll out the dough to ¼" thickness before chilling
- dip the cookie cutter in flour every 2-3 cookies
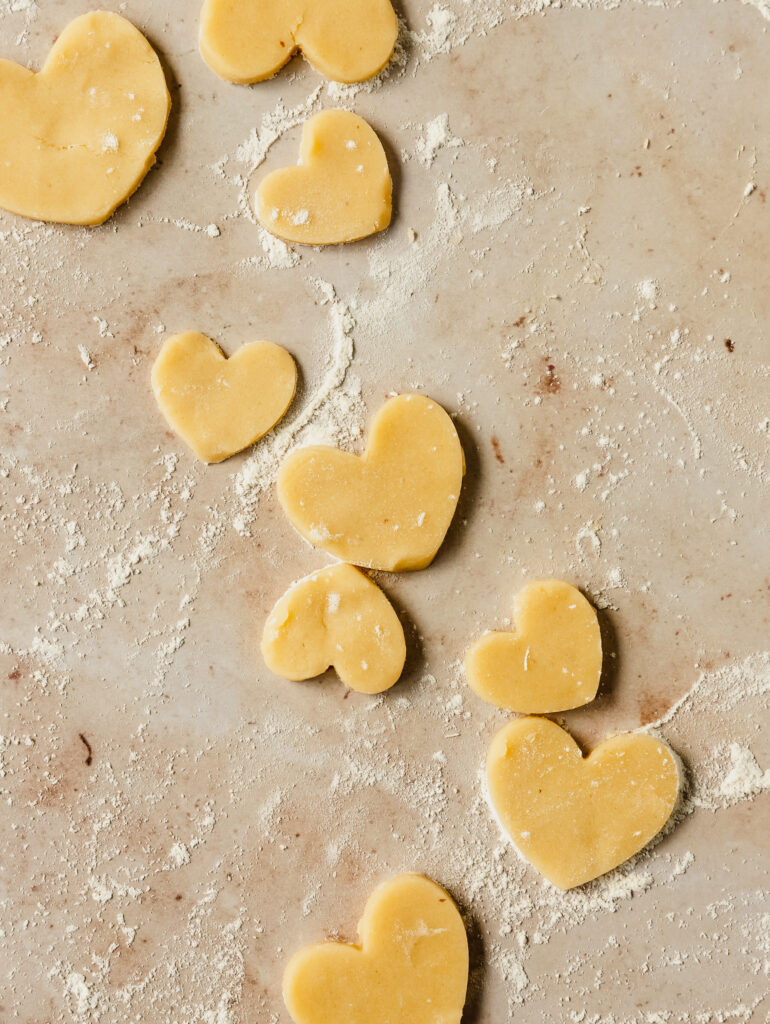
- make sure the dough is cold while cutting and transferring to the baking sheet
- freeze the dough for 10-15 minutes if using intricate cut outs
- or if the dough begins to stick or lose shape
- baking times: 8-14 minutes
- varies based on the size of the cookie
- bake the cookies only until they are lightly brown on the edges
- cool the cookies on the baking sheet for no longer than 2-3 minutes
- allow the cookies to cool on a baking sheet for 30-60 minutes
- until room temperature
- fully preheat the oven before baking
- this takes about 20-25 minutes for most ovens
- use an oven thermometer to check for the correct temperature ( love this one )
more valentines day inspiration here!

marbled heart sugar cookies
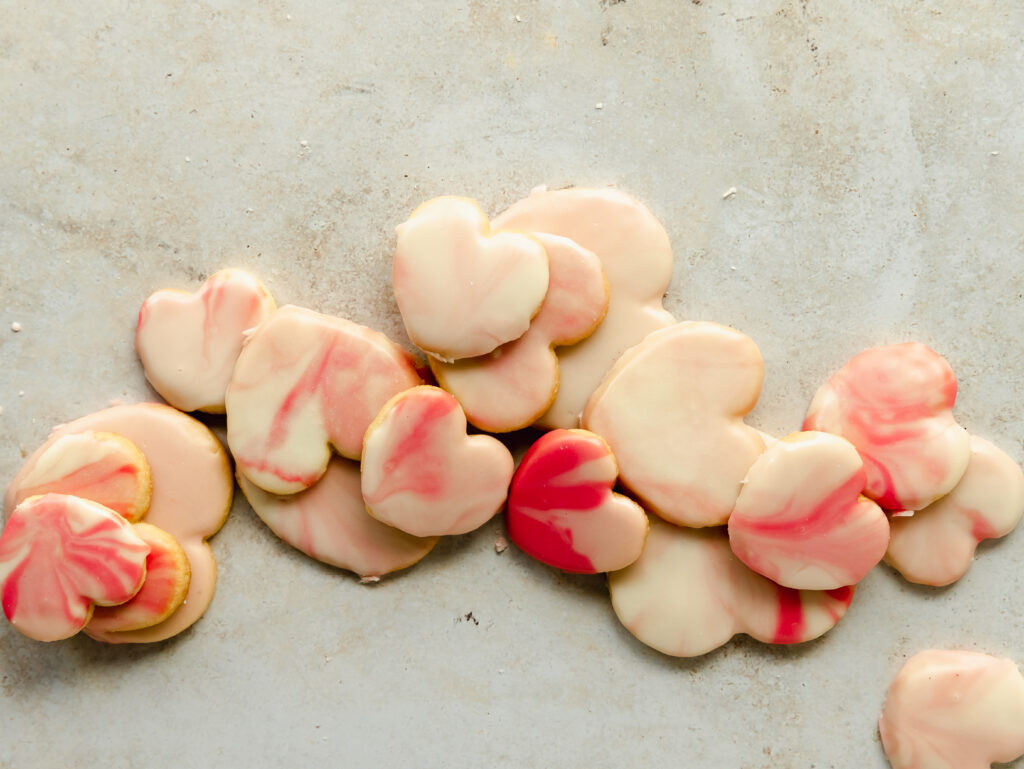
chewy, slightly crisp around the edges, almond sugar cookies coated in a marbled glaze. these marbled heart sugar cookies are as fun to eat as they are to make!
Equipment
- standmixer with paddle attachment or hand mixer with beaters
- rolling pin, recommended
- parchment paper
- plastic cling wrap
- heart shaped cookie or biscuit cutters
- 2 baking sheets
- cooling rack
- several mixing bowls, for the marble glaze
- toothpick, to pop air bubbles
Ingredients
almond sugar cookies
- 2 c (240g) all purpose flour
- ¾ c (84g) almond flour sub: ¾ c (90g) all purpose flour
- ½ tsp (2.5g) baking powder
- ½ tsp (3g) salt
- 1 c (227g) unsalted butter, room temperature
- 1 c (200g) granulated sugar
- 1 (57g) large egg, room temperature
- 1 ½ tsp (8ml) vanilla extract
- ½ tsp (2.5ml) almond extract, optional enhances vanilla flavor
- flour for dusting cookie/biscuit cutters
marbled glaze
- 3 c (360g) powdered sugar, sifted
- 1 tsp (5ml) vanilla extract
- 1 tsp (5ml) light corn syrup, optional but recommended see notes
- 3-6 tbsp (45-90ml) milk
- food coloring
Instructions
almond sugar cookies
- Whisk the all purpose flour, almond flour, baking powder and salt together until well combined. Set aside.
- In a large mixing bowl, beat the butter and sugar together on medium high speed until well combined, about 2-3 minutes. Scrape down the sides.
- Add the egg and vanilla, mixing on low speed until each is incorporated before adding the next, about 20-30 seconds. Scrape down the sides and bottom of the bowl. Beat on medium speed for 30 seconds to fully mix and incorporate everything.
- Add the ½ dry ingredients to the wet, mixing on the lowest speed until JUST combined. Scrape down the sides and bottom of the bowl. Add the remaining ½ of the dry to the wet. Repeat scraping down the bowl. If the dough feels too sticky to handle, add in up to 2 tablespoon more flour, 1 tablespoon at a time until the dough feels tacky, but not overly sticky.
- Drop the dough onto a large piece of parchment paper. Using a bowl/bench scraper or our hands, divide the dough into two medium pieces. Set one piece aside. Place a large piece of plastic wrap over the single ball of dough. Roll out the dough to ¼" The shape doesn't matter, more the thickness. Once rolled out, fully wrap the dough in the plastic wrap used to roll out the dough. Place the dough on a half sheet baking sheet or large plate. Repeat for the remaining dough ball. Place the rolled out sheets of sugar cookie dough in the fridge to chill for at least 2 hours and up to overnight.
- When ready to bake: Preheat the oven to 350 F. Line two large baking sheets with parchment paper.
- Remove one "sheet" of chill dough. Unwrap the dough and place onto a piece of parchment paper. In a small bowl, pour ¼ c flour for dipping the cookie cutter into. Dip the cookie or biscuit cutter into the flour, press the cutter into the chilled dough. Repeat until all the dough has been cut into pieces. Gently gather the excess dough. Roll back into a ball in plastic wrap. Set aside to be rolled out again for another batch.Gently lift the cut pieces of dough onto a parchment lined baking sheet. Space cookies about 2" apart. They shouldn't spread too much while baking. BUT if the dough has gotten warm and the cookies start to lose shape while moving onto the baking sheet, place the cut cookies into the freezer to chill for about 10 minutes.
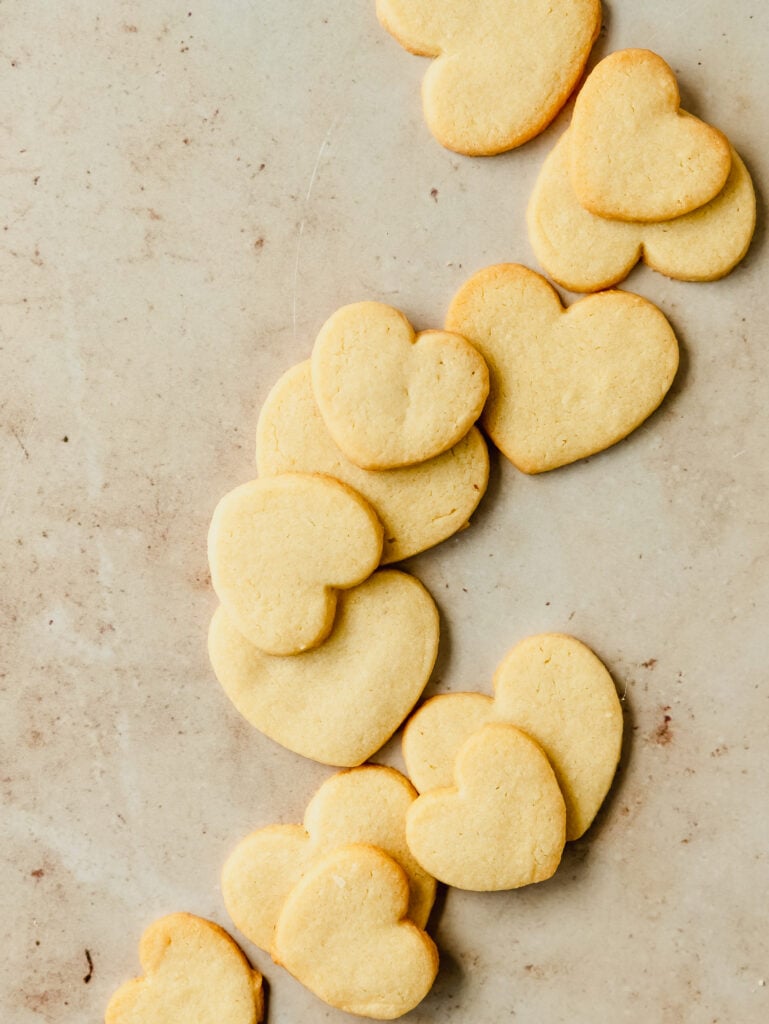
- Bake cookies at 350F for 8-12 minutes. The edges will turn a light golden brown. The centers will be light and may not be fully set. Remove the cookies from the oven. Cool on the hot baking sheet on a cooling rack for 3 minutes. Remove cookies to fully cool on the cooling rack for at least 45 minutes or until completely cooled.
- Repeat rolling, cutting, baking and cooling until all the dough is used.
glazing the cookies
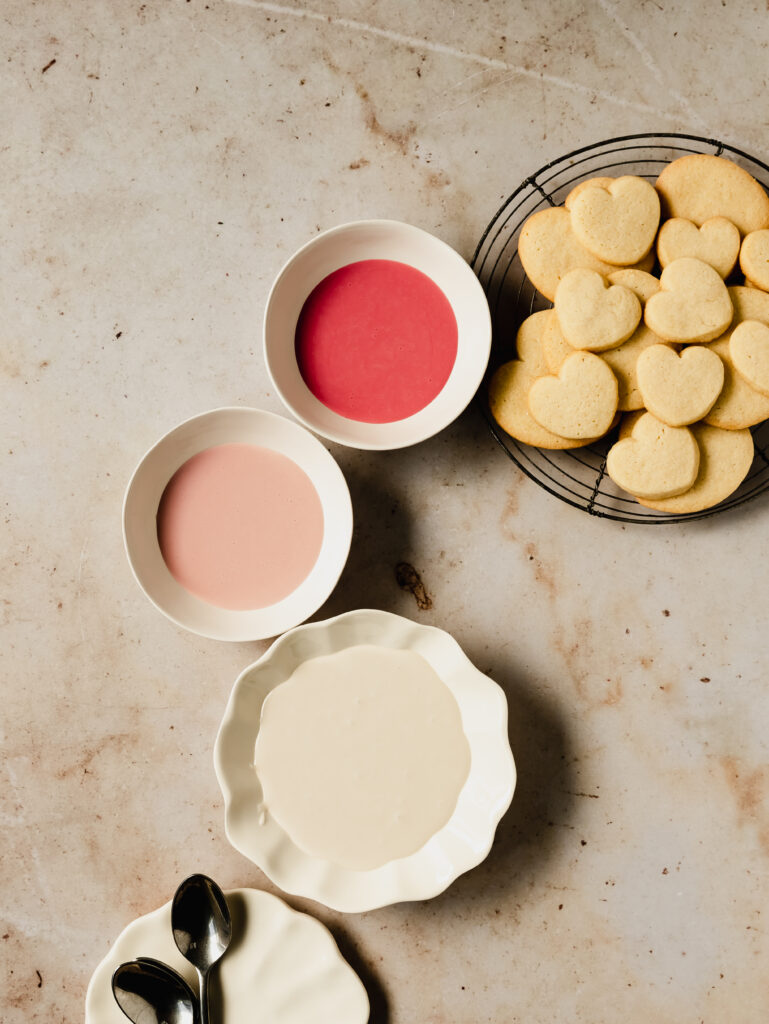
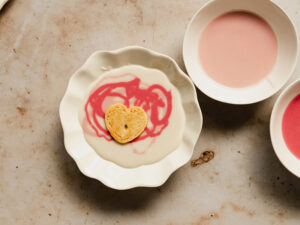
- In a large, shallow bowl, whisk the powdered sugar, light corn syrup, vanilla extract and 3 tablespoon milk together. Add more milk, 1-2 teaspoon at a time until your desired consistency is reached. The glaze pictured here used about 4-5 tablespoon milk. A good way to check is to run a spoon through the glaze. The glaze should take about 9-10 seconds to fully close the seam and dissipate back into itself.

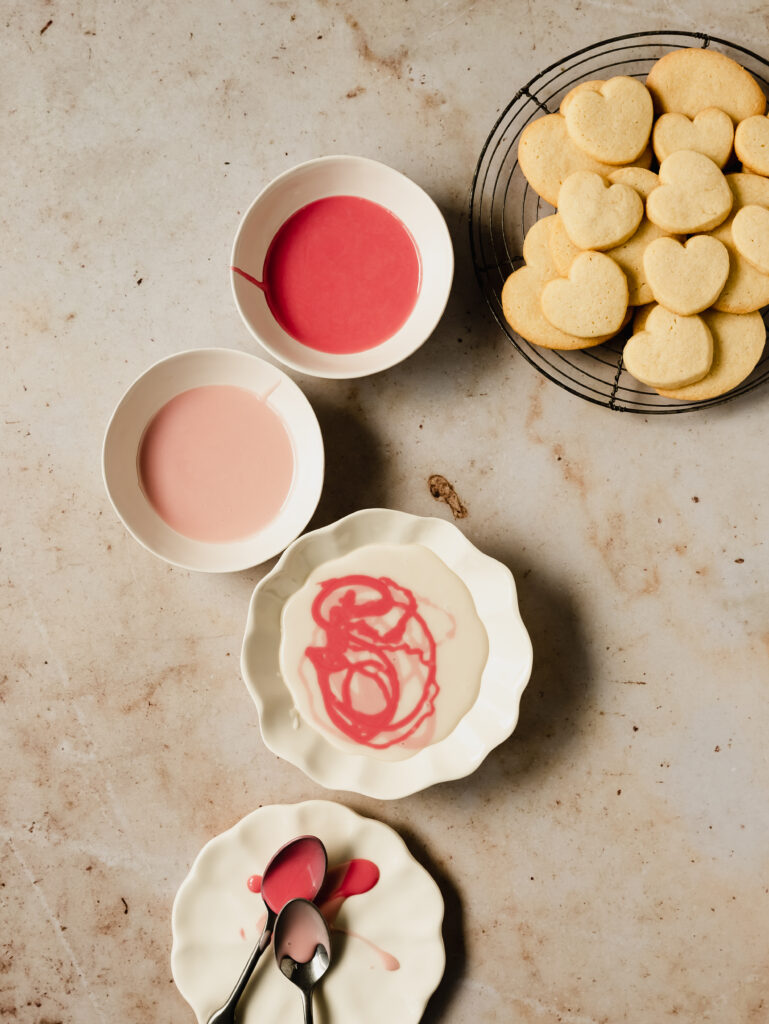
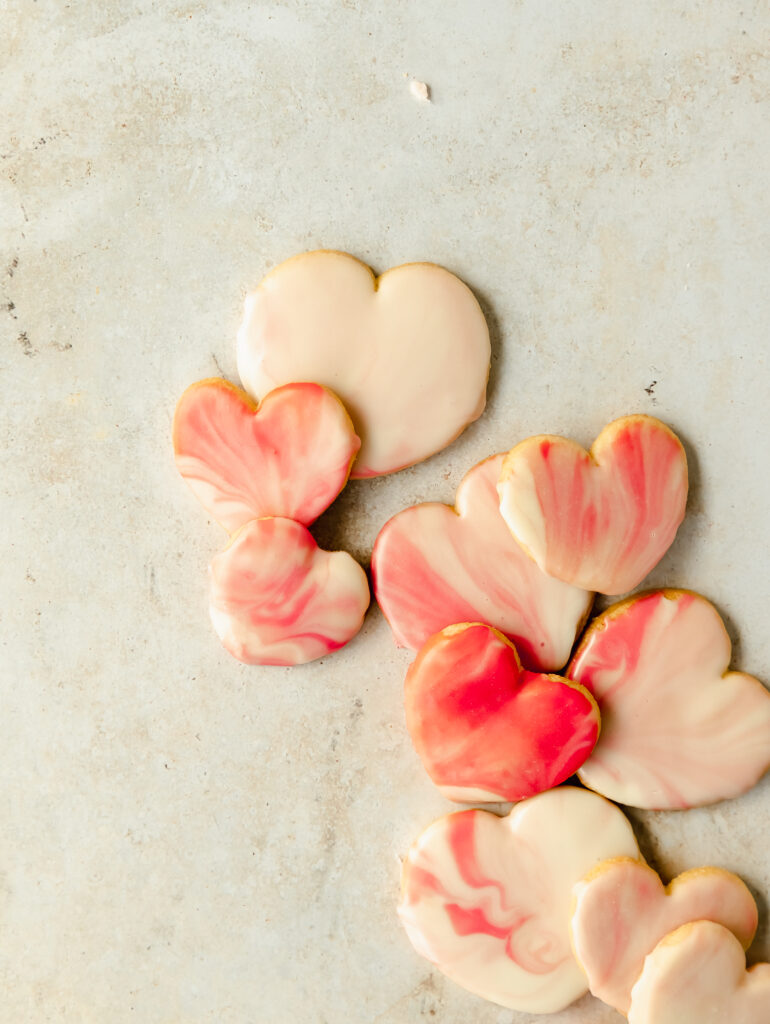
- Determine how many colors you want to be in the marble. For these cookies, I used a lighter pink and darker pink, so three colors in total. Pour ¼c -⅓c of the uncolored glaze into small bowls. Drop food coloring into the uncolored glaze until you get the colors you want. For the light pink, I dropped one drop of red food coloring. I then added a little more uncolored glaze until I made the light pink color. The dark pink used about 4-5 drops of red food coloring. To create the swirl, drizzle each color over the uncolored "base" glaze.
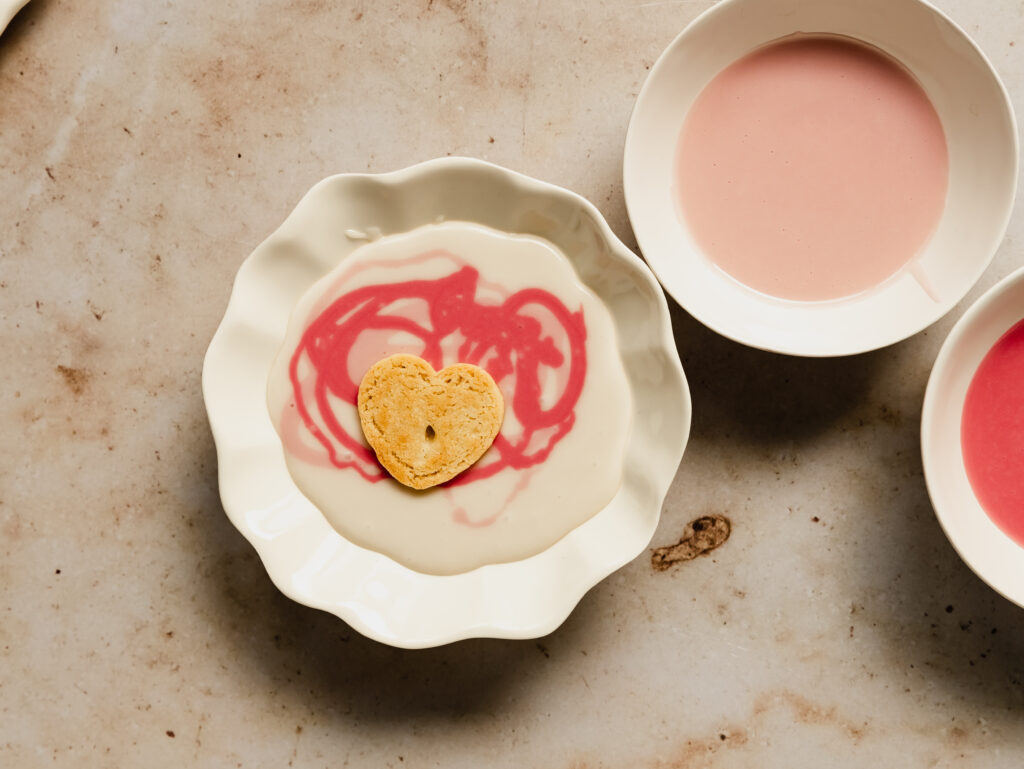
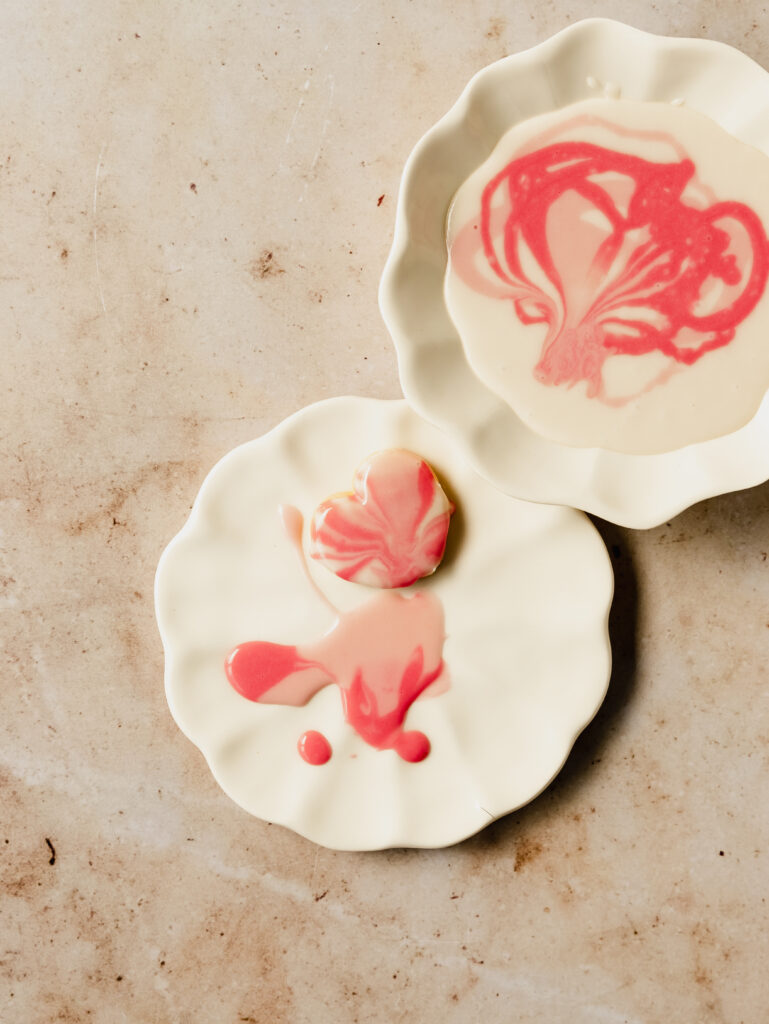
- Dip each cookie in the glaze. To create a deeper swirl, gently twist the cookie while face down in the glaze. Lift the cookie and allow the excess to drizzle back into the glaze. Place the cookie on a cooling rack (with parchment paper lined under the rack) glazed side up to set. Repeat for all the cookies. Add more color glaze to the base glaze as needed. You may see air bubbles pop to the surface while the cookies begin to set. After about 2-3 minutes, or in batches of 5-10 cookies, take a toothpick and pop the bubbles. The glaze should still be liquid, so push the glaze to cover the small air bubble hole.

- Allow cookies 6 hours to fully set.


Notes
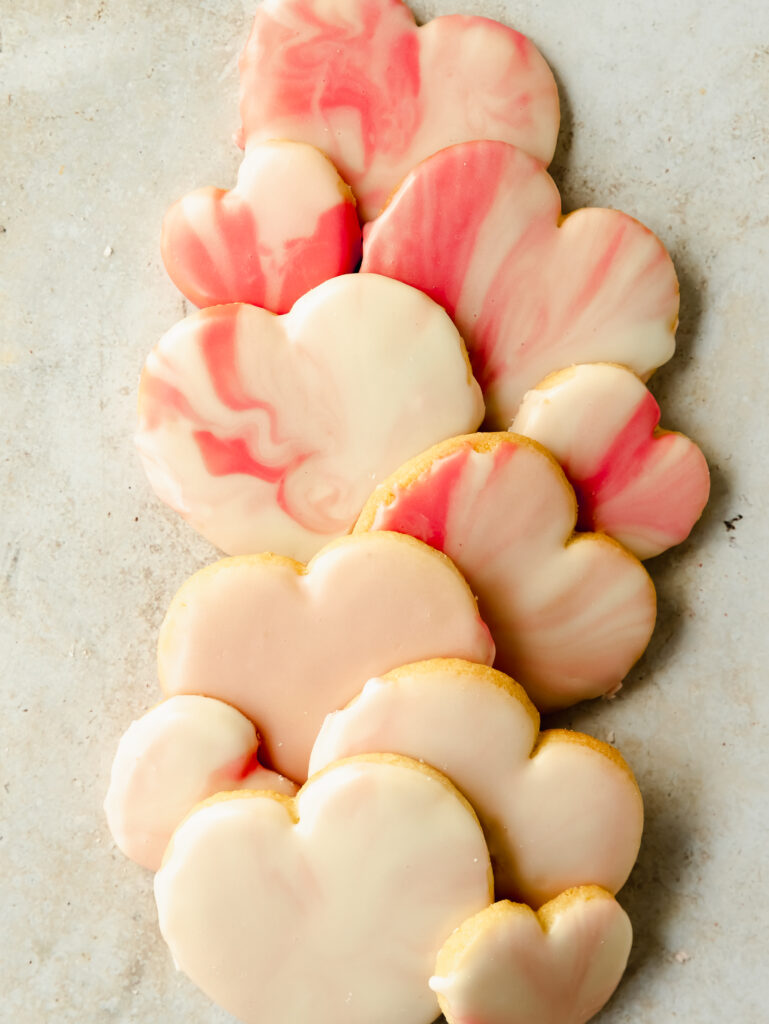
light corn syrup: this creates a beautiful shine on the glaze. I tested the glaze with and without. both cookies were used to photograph this recipe. the cookies without the corn syrup were duller once dried. the cookies with the corn syrup had a lovely shine once dried. this is completely optional!
did you make this recipe?tag @olivesnthyme on Instagram
Make sure to leave a star review below
Make sure to tag me on instagram @olivesnthyme. For more delicious dessert ideas follow me on pinterest
make sure to tag me on instagram @olivesnthyme. for more delicious dessert ideas follow me on pinterest.
Leave a Reply