

the title really should read, "the best scones ive ever made" because i made them so many times trying to perfect them and somehow i still wake up thinking about making them again. the kicker is.... i don't even really like scones! am i allowed to say that on a food blog? cakes, brownies, bars, cookies, i'm here for all those things. there's something insanely delectable about that dense, chewy, toothsome, yet somehow light texture that is heavenly to me. but, scones? to be completely honest, they are a bit boring and dry to me. so you see, this couldn't work, i needed to make the perfect scone. it took more tries than i care to admit and MONTHS of trial and error. i'll never look at a scone the same way again (and for me thats a good thing because im officially obsessed with them)!
lets talk about all the things a scone should NOT be: dry, overly crumbly, tasteless, basically just a a brick made of flour, butter, sugar, cream and eggs. it's hard to believe, but a scone can in fact be horribly unappealing despite being made from the most delicious of bases. i know this from personal experience and its sad, friends.
after speaking with several blogger friends of mine, who are better bakers (many people are, but practice makes perfect!), a few things kept popping up as to what a scone SHOULD be: subtly and flavorfully balanced; crumbly, but bigger crumbles; not dry like a rock, but not fluffy. it should be able to stand alone in its buttery deliciousness, but hold its own with jams and creams piled on top. american versions tend to be very sweet, while other countries prefer significantly less sugar. um, this was going to be a bit tricker than i previously thought!
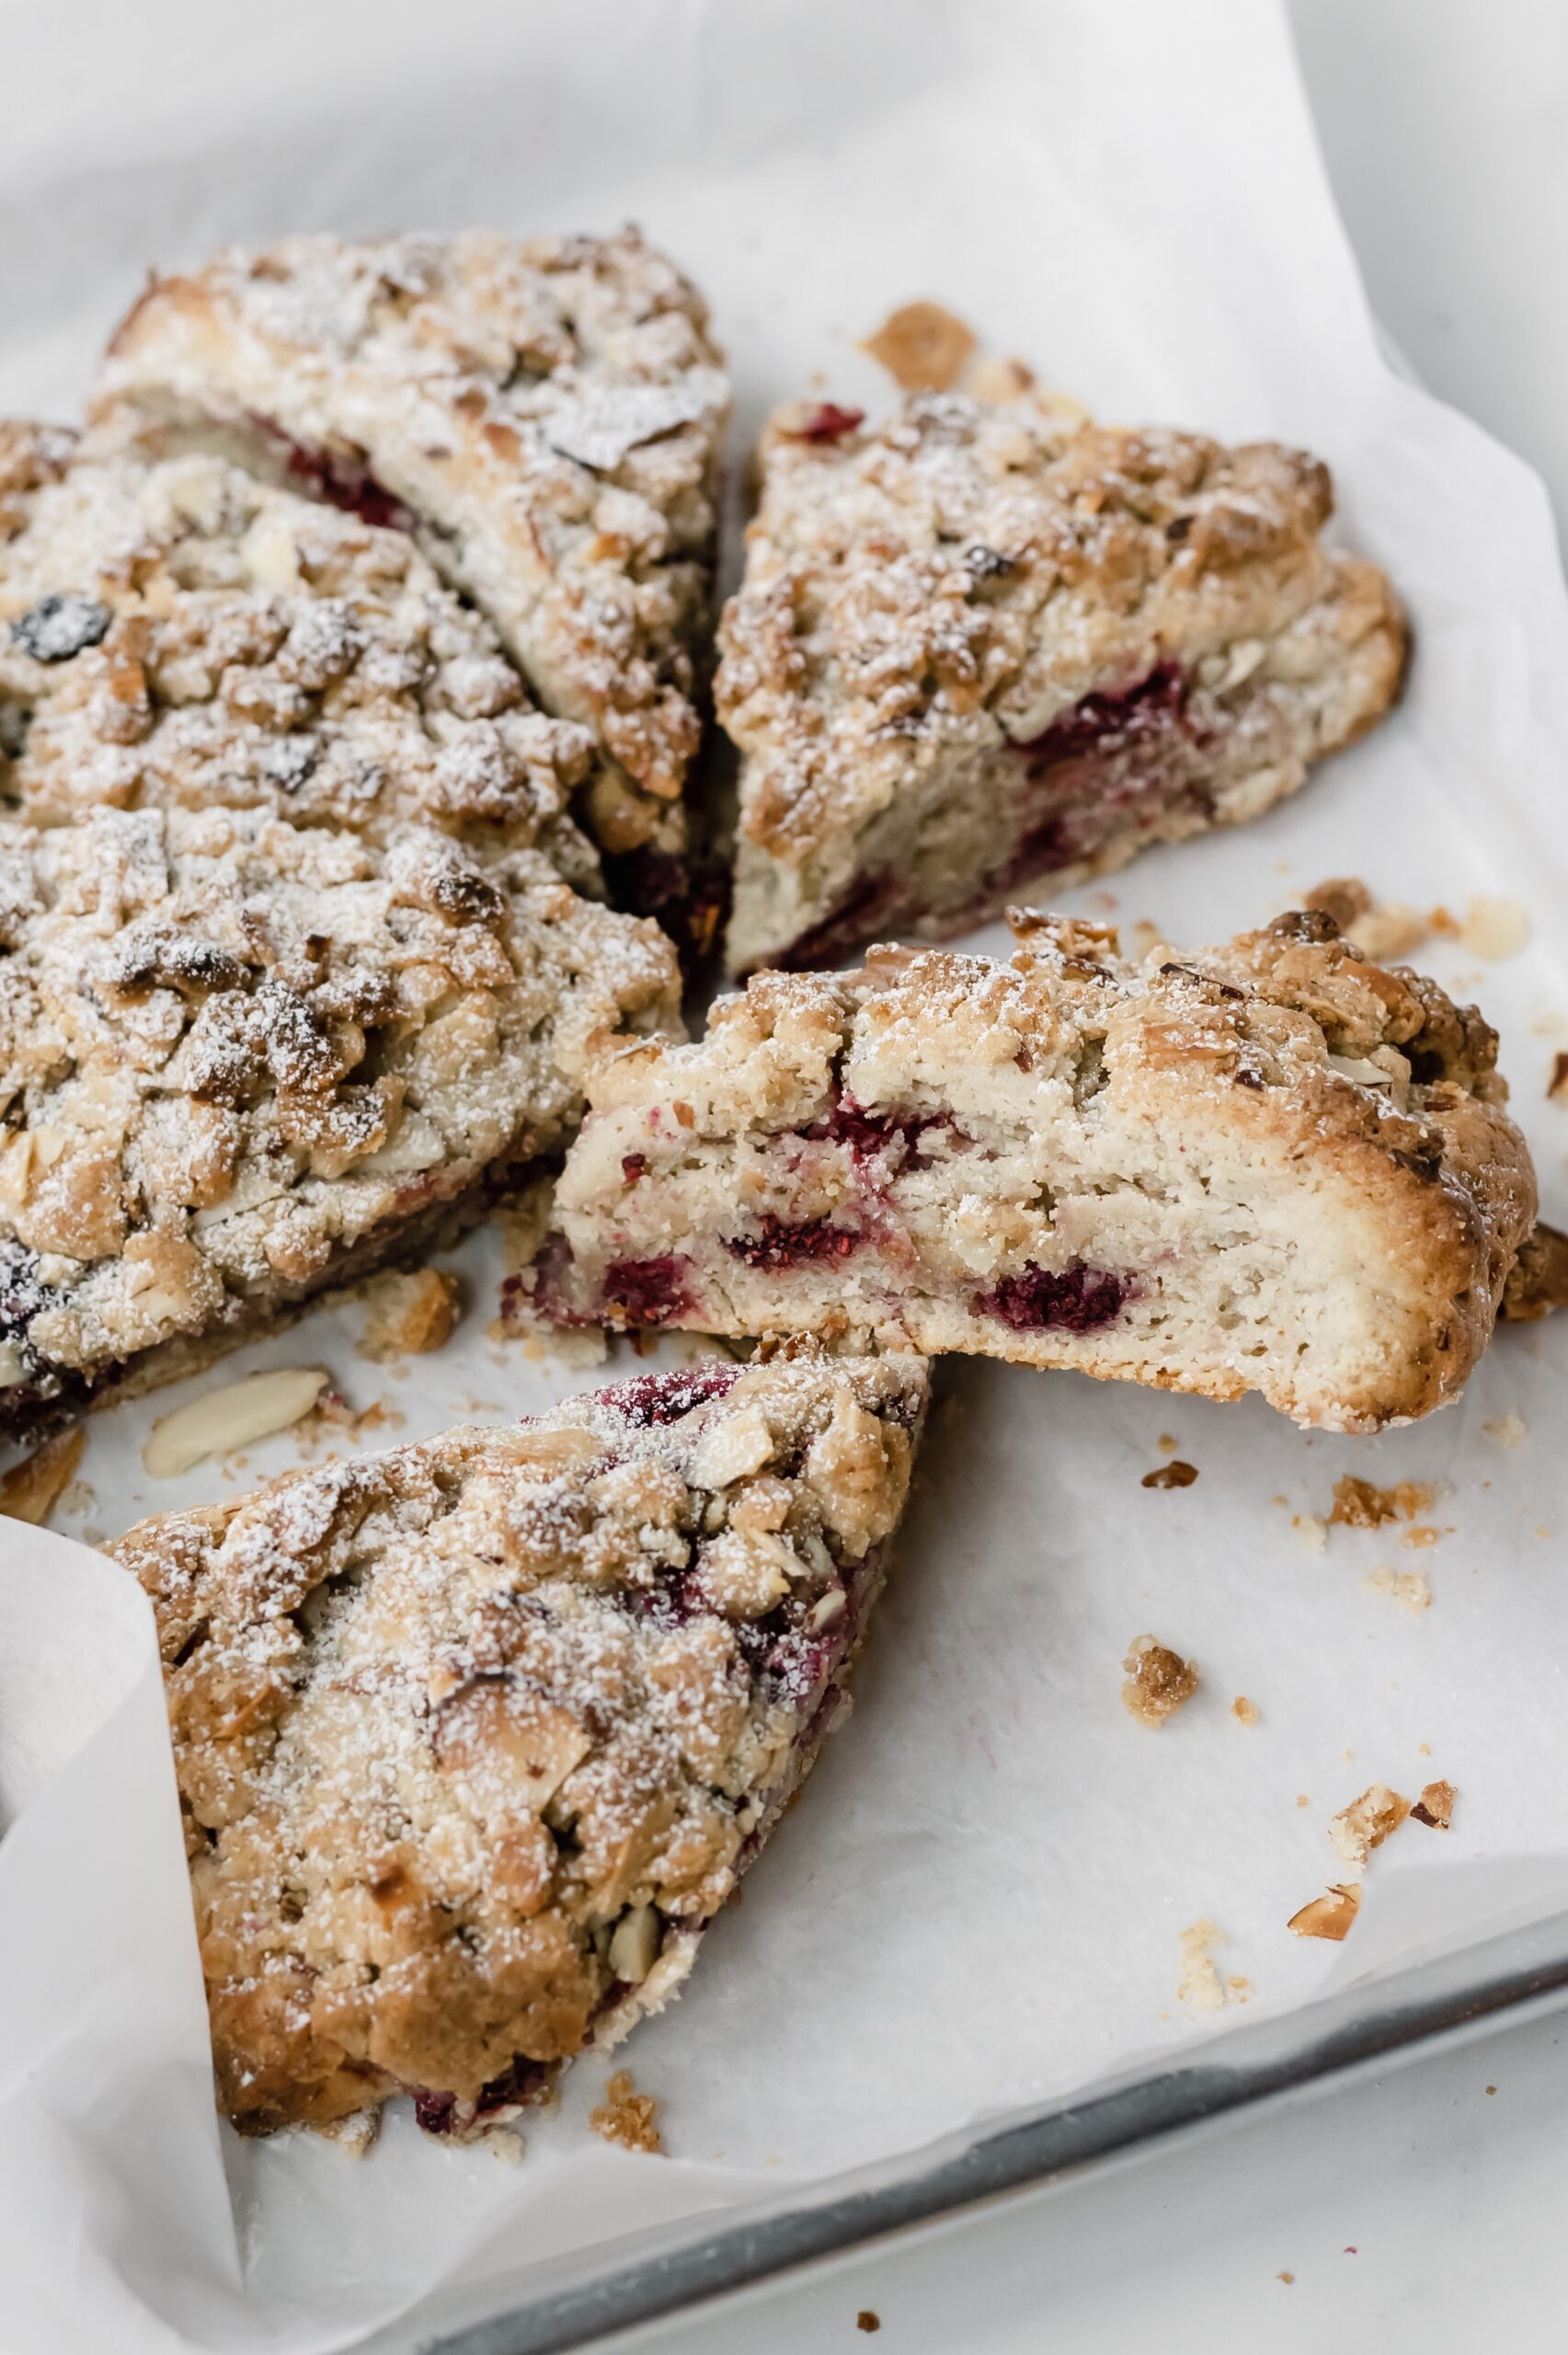
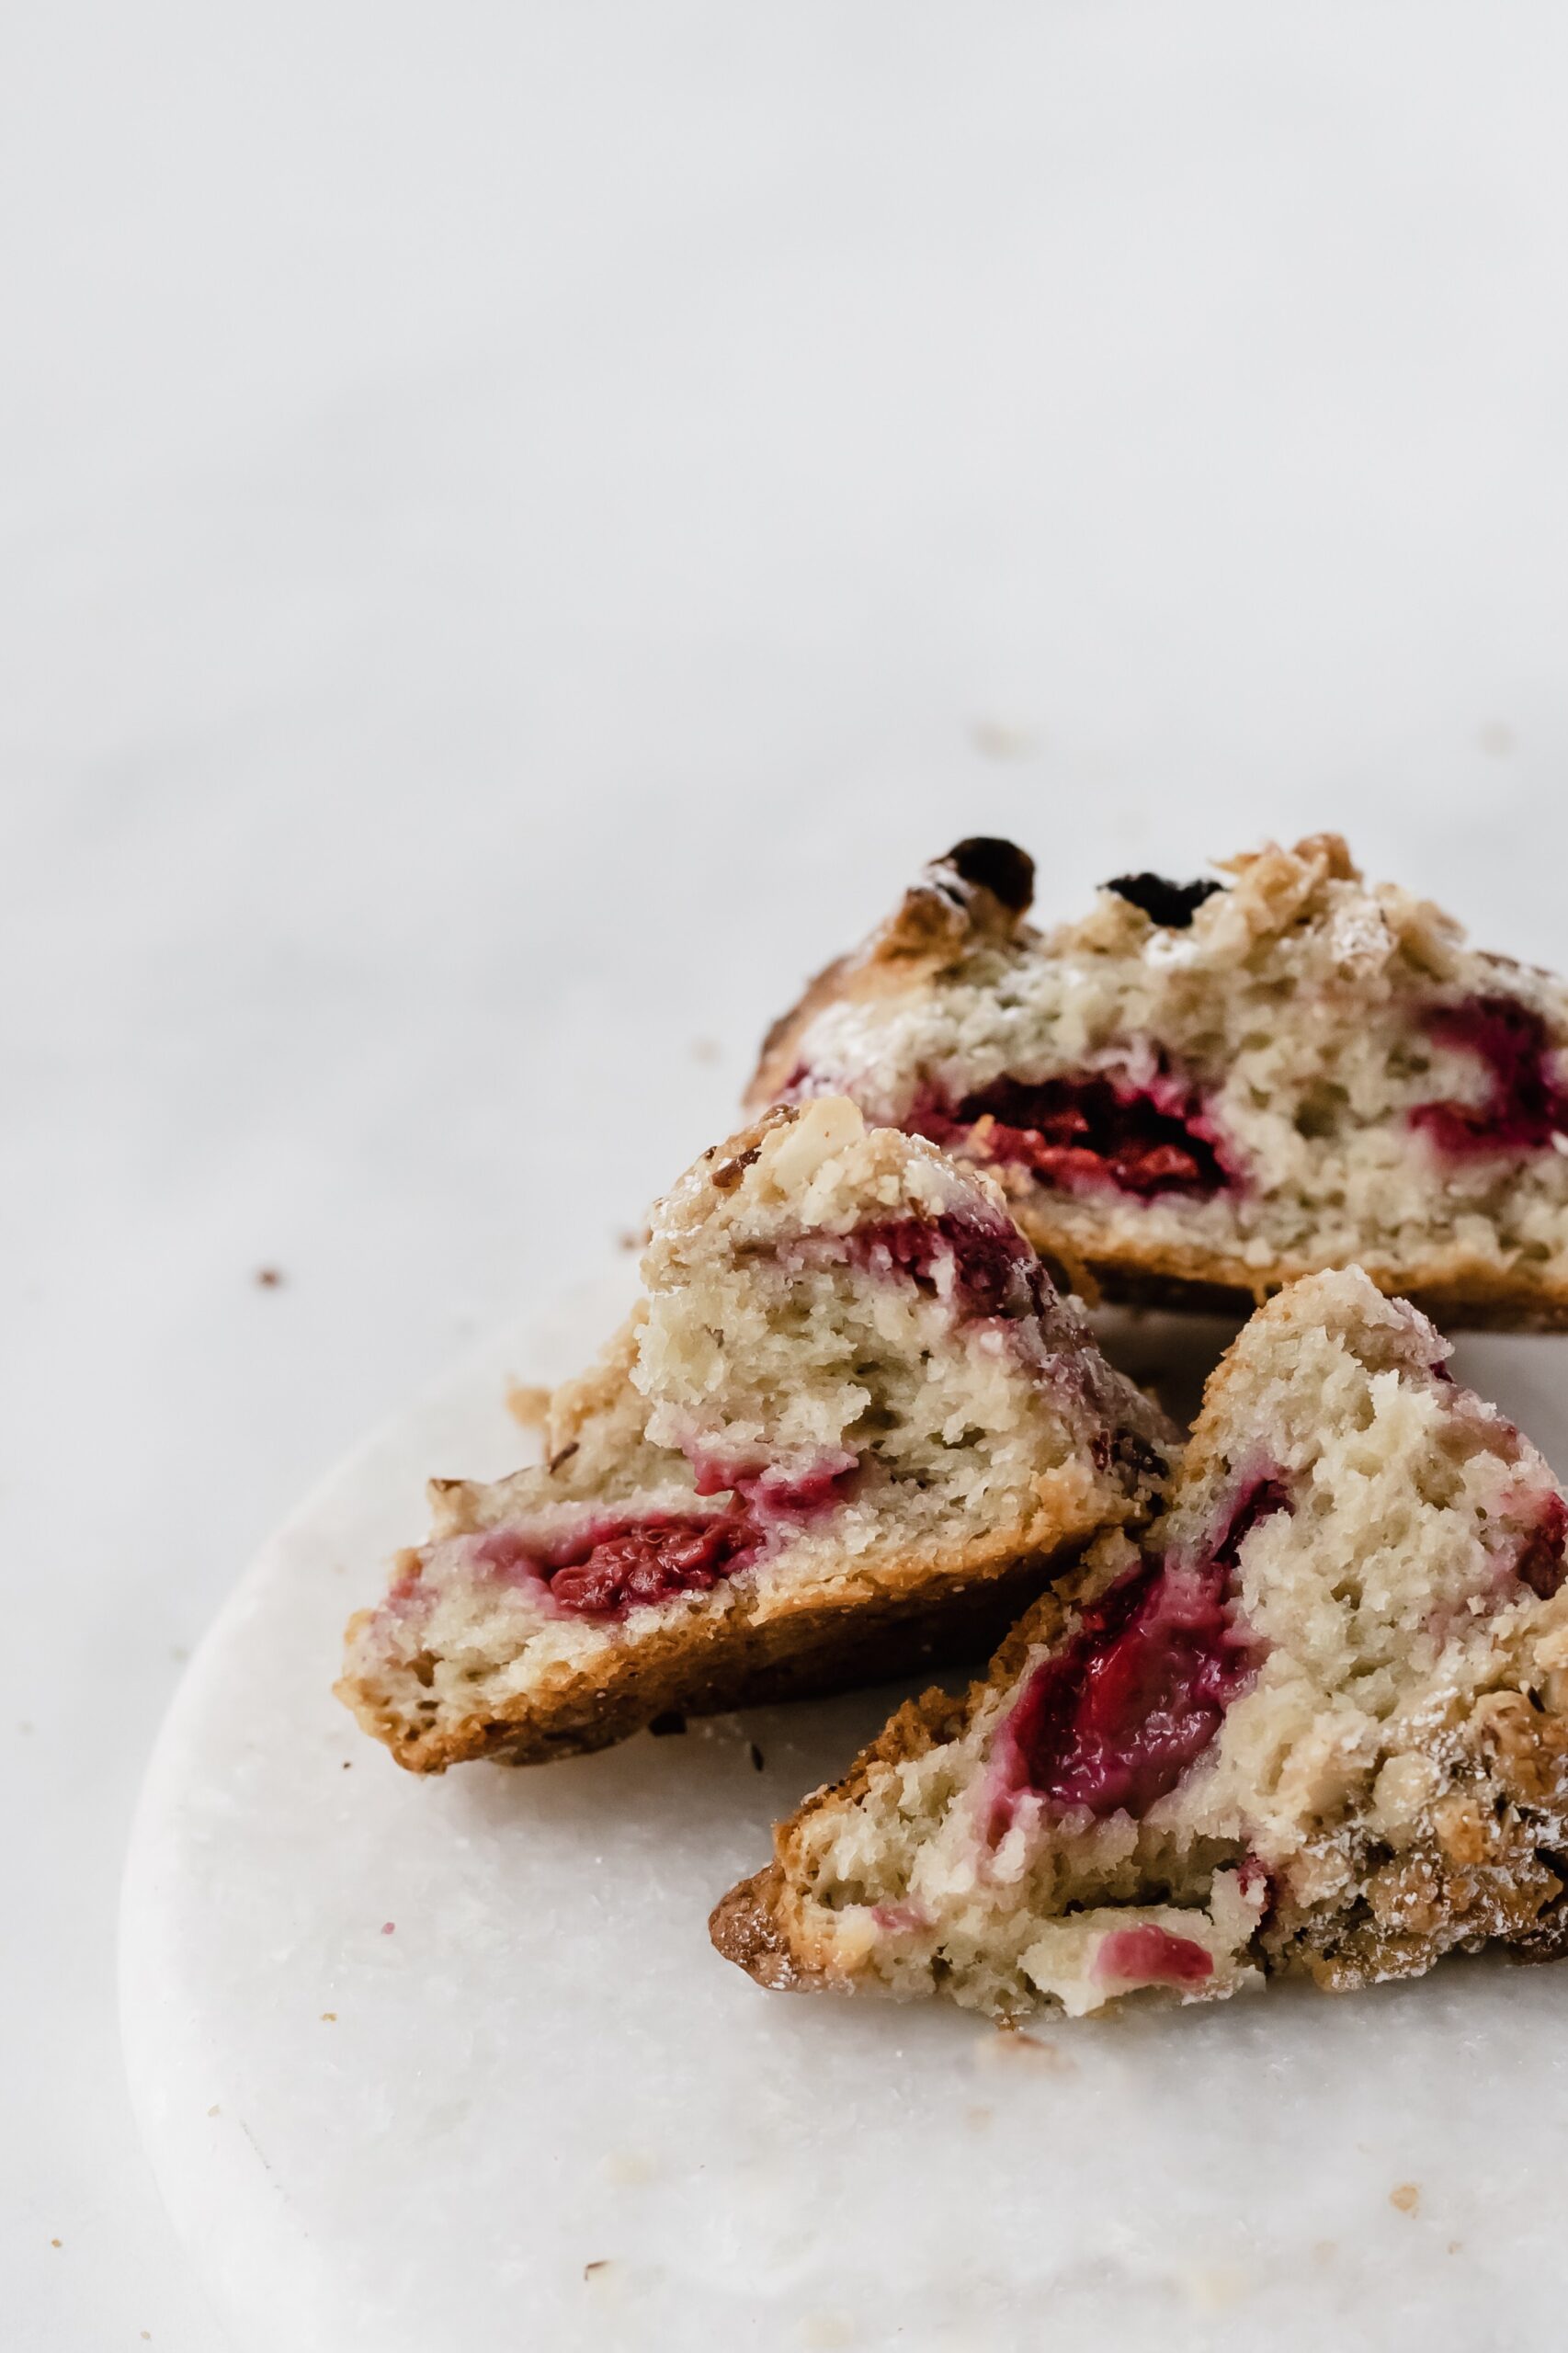
this raspberry almond streusel scone took months of trial and error. countless batches made (and eaten, lets be honest), but something was always a little off. mostly it was the structure of the scone itself. the first scone i ever made was flat like a cracker! no lie, so as you can see ive come a LONG way. 🙂 the thing that finally brought the structure home for me was actually forgetting these in the freezer for about 30-45 minutes longer than i had originally intended. can you can serendipitous?!
i'll share a few tips later in the post, but as far as the flavor and texture of a perfect scone, here's what i did:
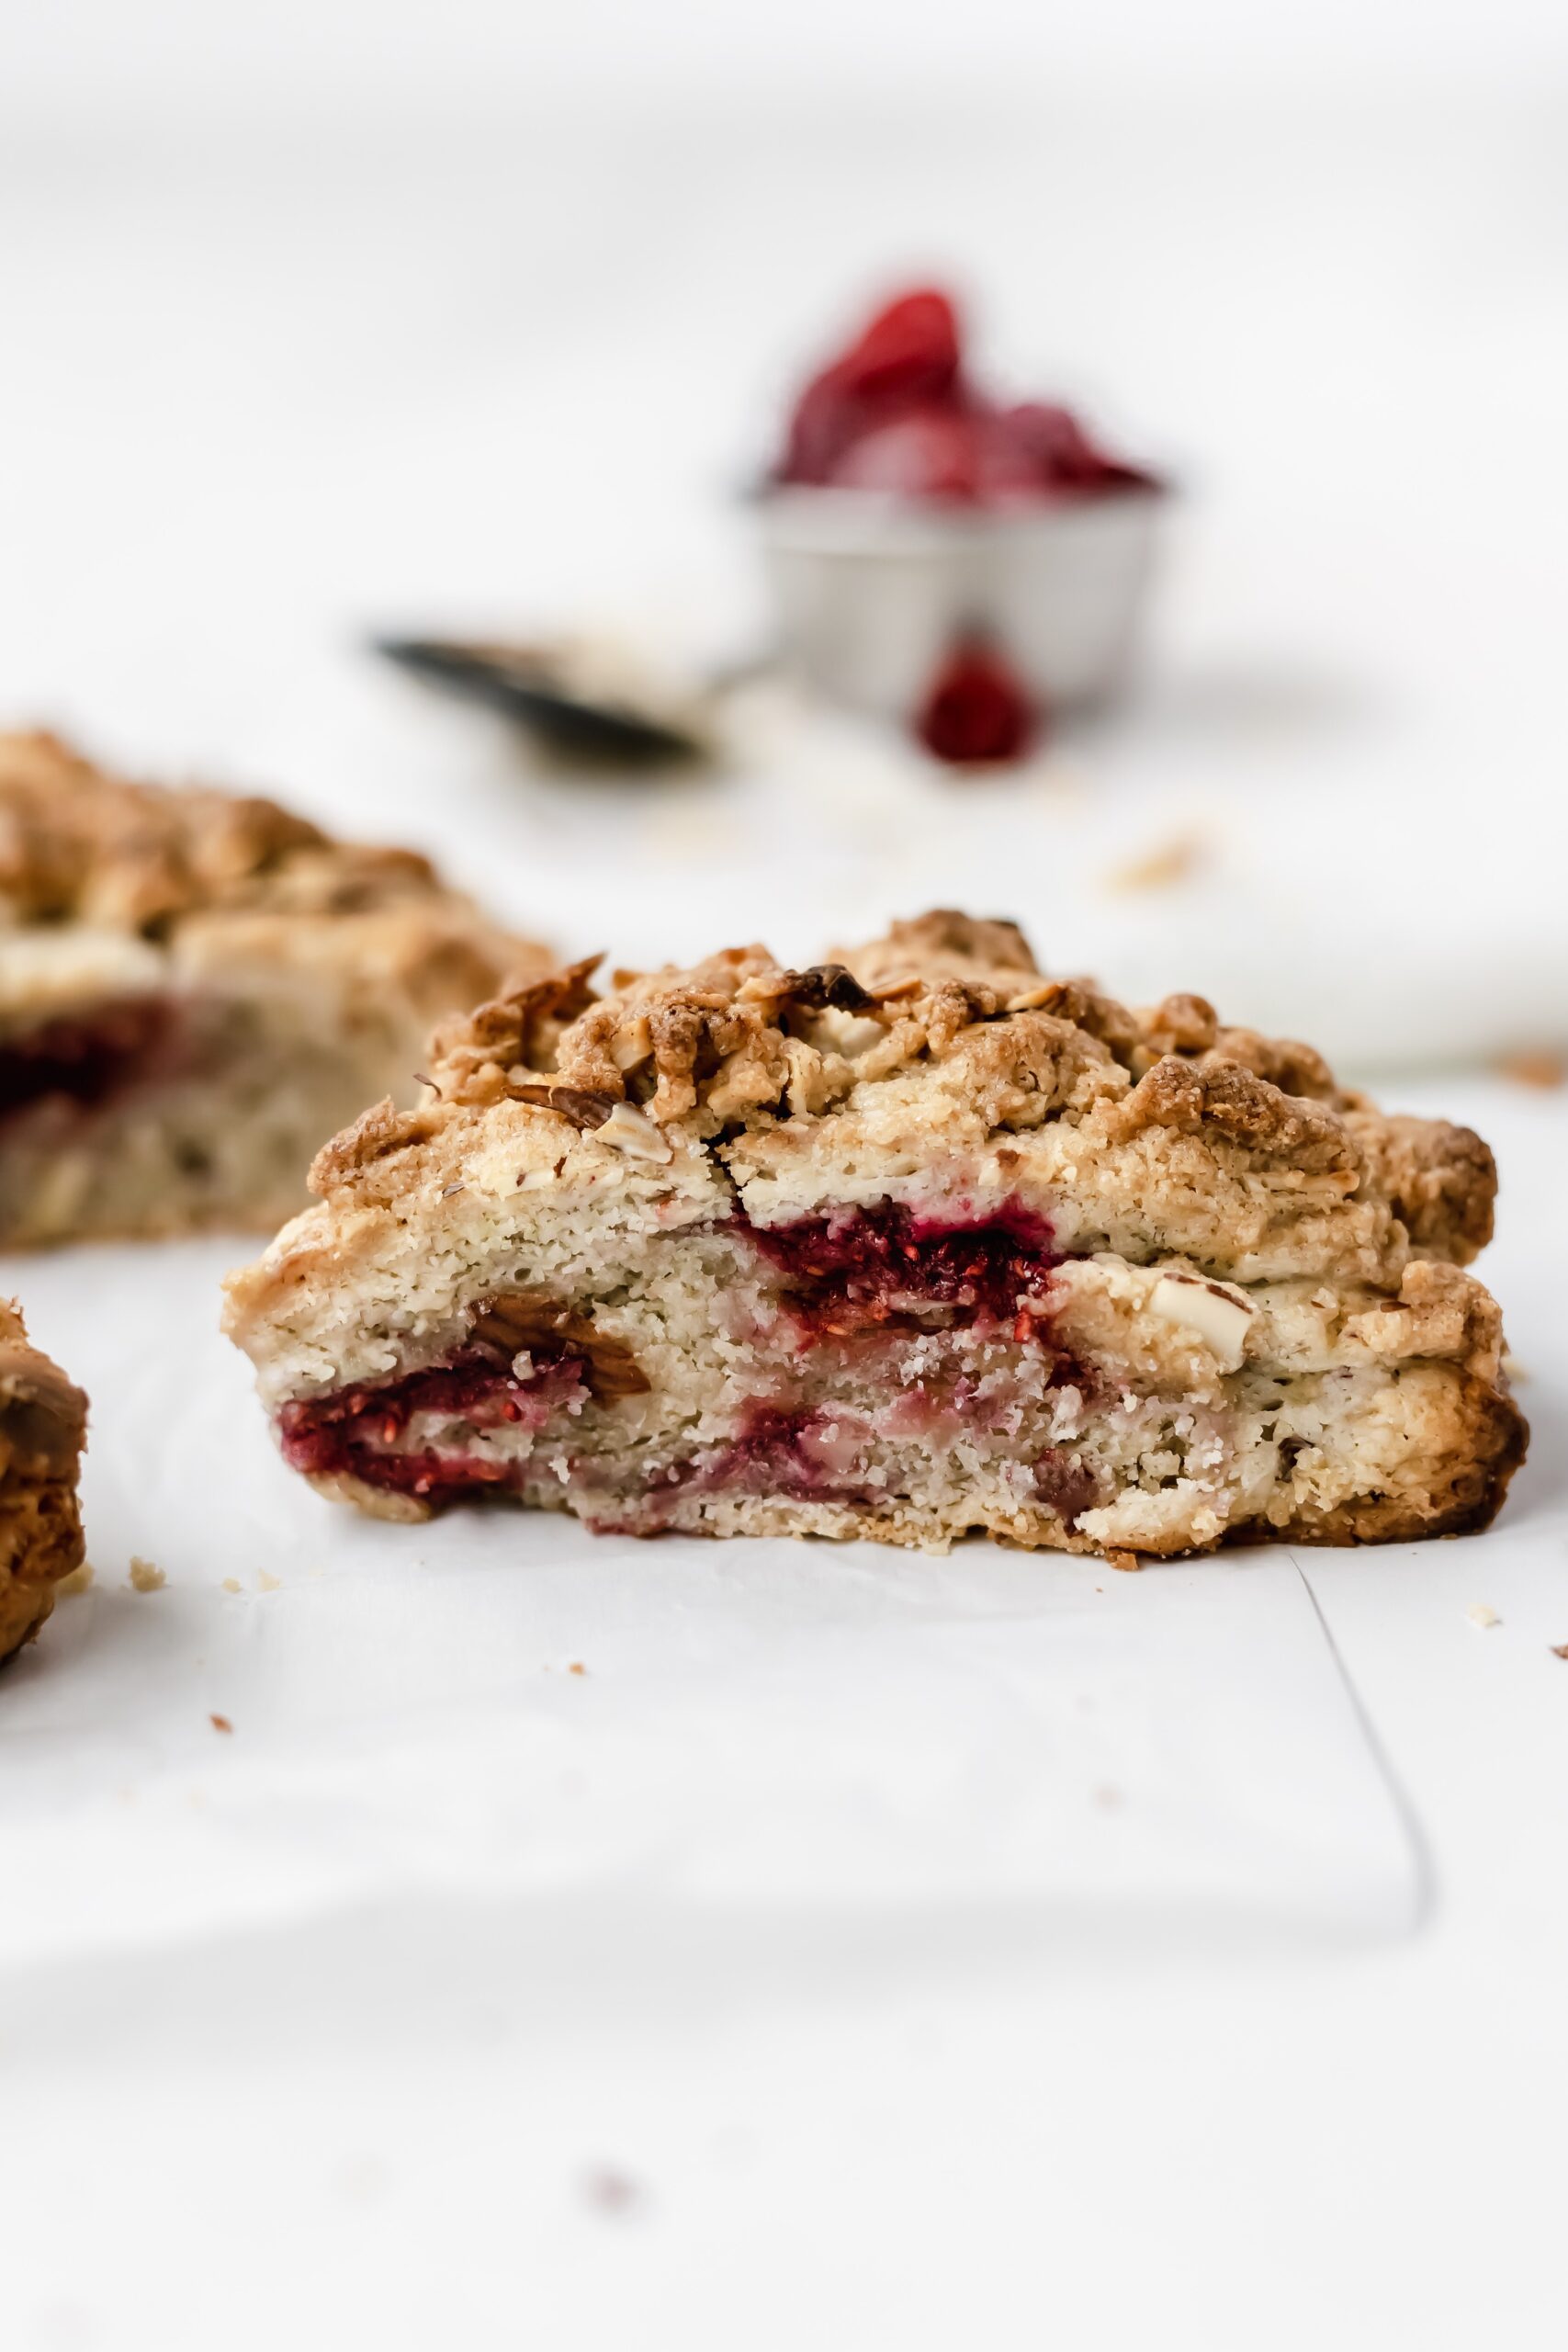
- flavorful while still being subtly sweet - extracts and fruit goes so far in enhancing the sweetness and flavor profile of a scone. baking with fruits can be very tricky as was the case for these, but so worth it. i decided my fruit first and then looked up an extract to pair with it. raspberry and almond is classic for a reason.
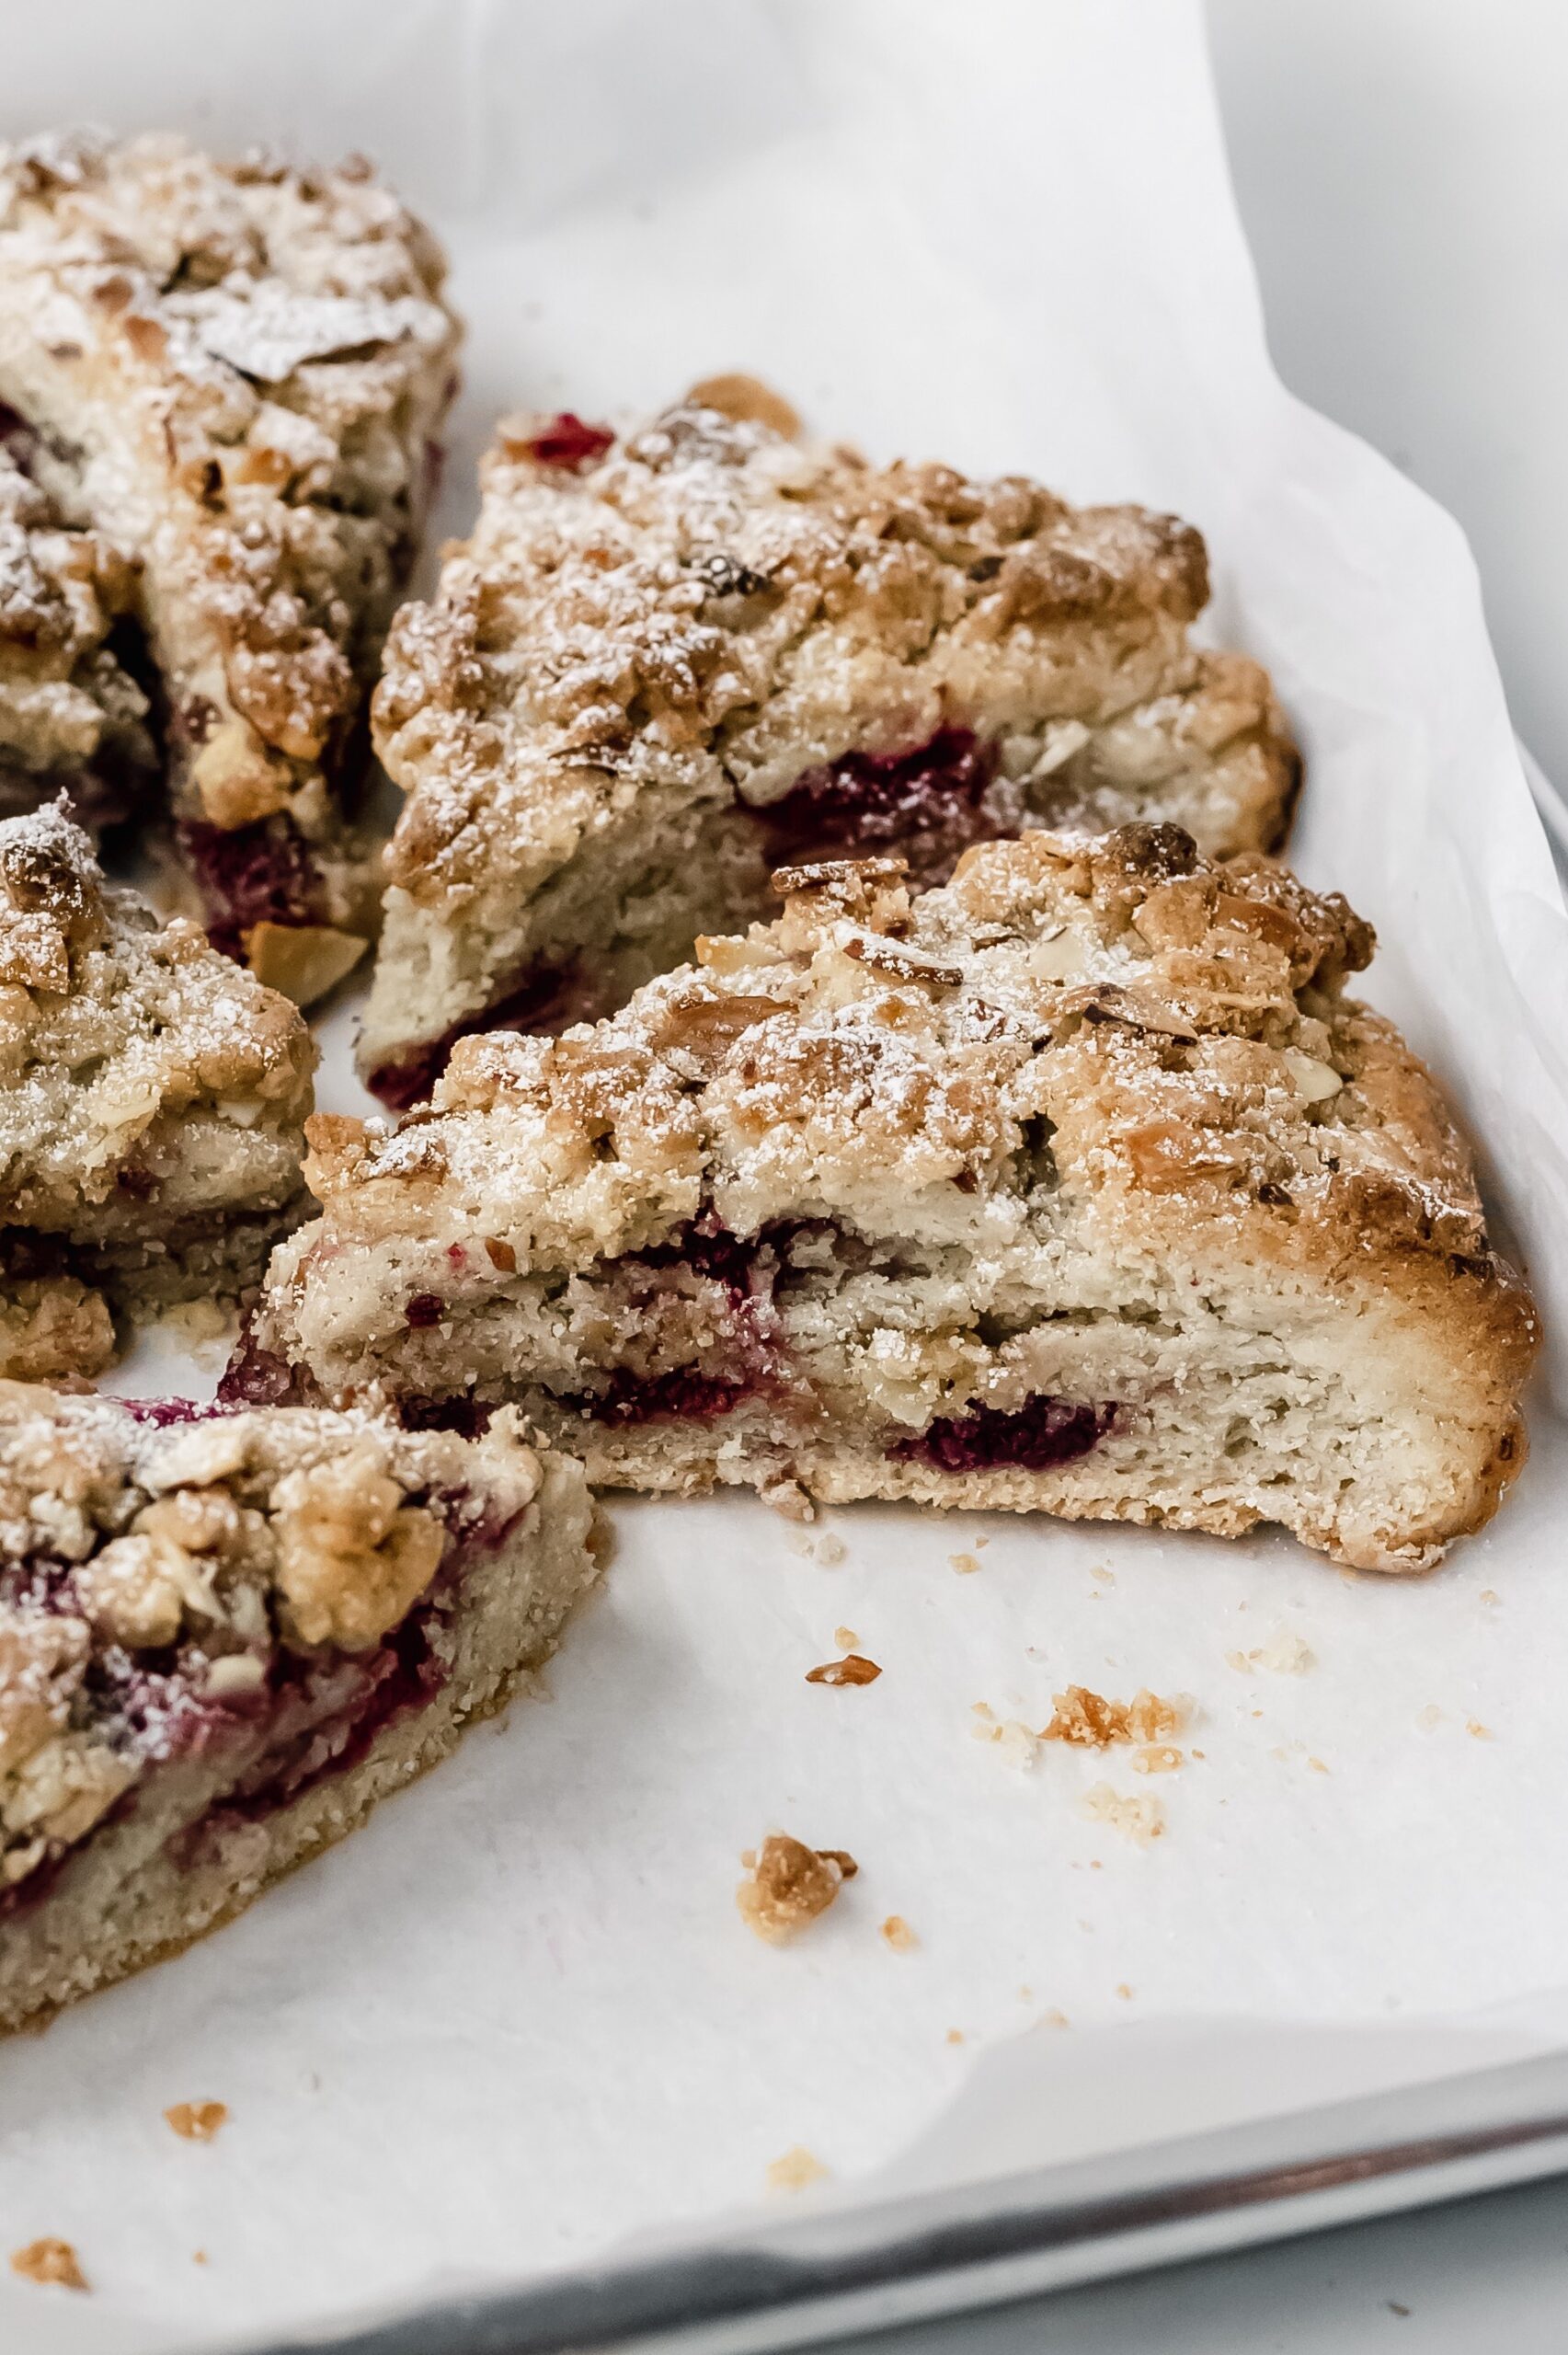
- bigger crumbles and buttery deliciousness - frozen butter and freezing your scones before baking them takes care of all the things. it was in fact, giving these more time in the freezer that finally solved my texture problems. the butter melts in the oven, releasing steam as it melts, creating lift, layers and crumbles (the good kind).
- not overly dry but not cake like either - my pervious scones pretty much fit the criteria, but when adding fruit (especially a wet fruit like raspberries) made the original recipe was a big fail. leaving it in the oven longer meant the scones came out dry on the top and still very cake/muffin like in the center. in the end, this worked to my advantage and created the most delicious scone...maybe ever?
a few tips and tricks to help get that perfect scone
- a food processor makes quick work of incorporating the butter and flour
- keep everything as cold as you possibly can! i find that chilling the scones in the freezer for 20-30 minutes before baking helps so much
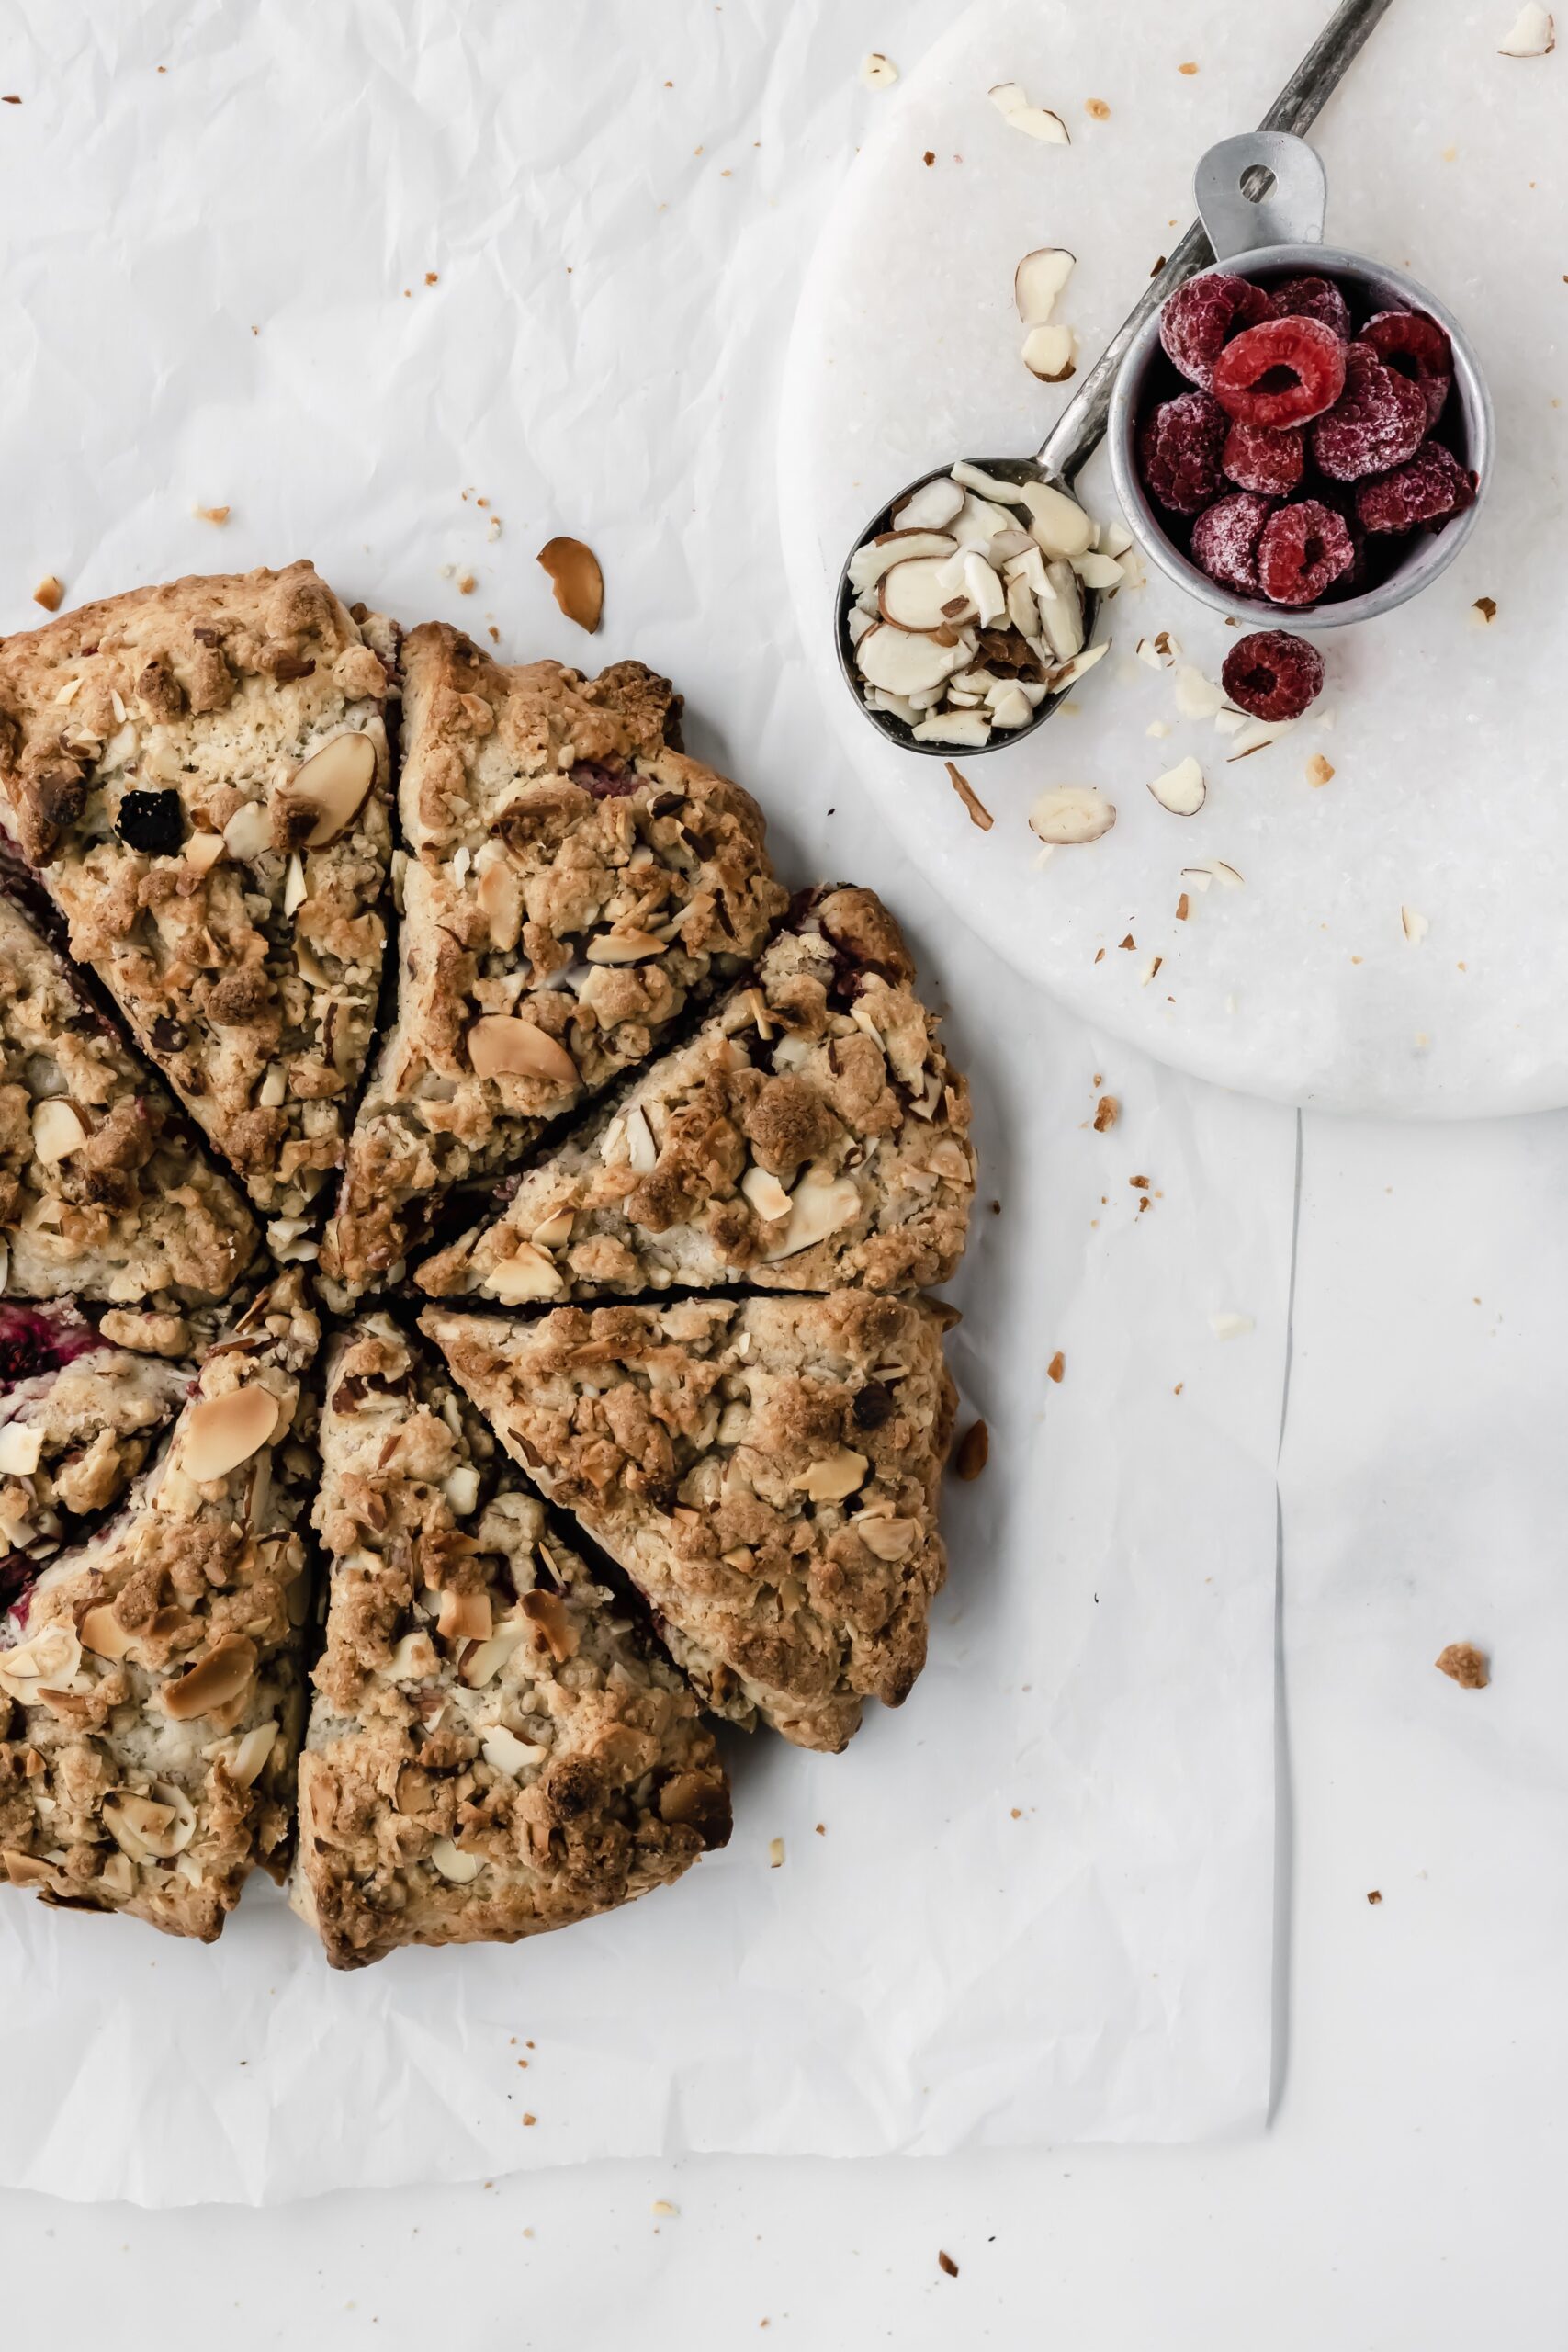
- when using water filled and soft fruits like raspberries, the best way to mix them in is using frozen ones. yay! now you can enjoy raspberries scones year round 🙂
- toss the frozen fruit in about 1 tablespoon flour : 1 c frozen fruit
- almond extract is a delicious alternative (or paired with) vanilla extract- have fun with the fruit combinations
- 400F is a magic temperature that makes scones work perfectly every time
- streusel topping is mandatory (for me at least). but really, the topping gives the scones a more interesting texture and makes them look- well, irresistible!
happy baking + (more importantly) eating!
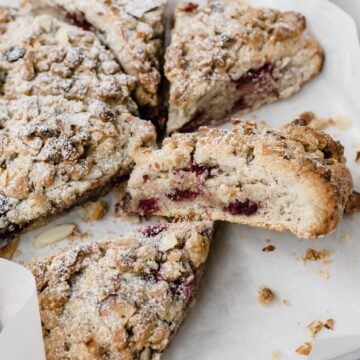
raspberry almond streusel scones
Equipment
- baking sheet
- parchment paper
Ingredients
scones
- 2 c all purpose flour (240g) plus more for kneading
- ¼ c sugar (50g)
- 2 tsp baking powder
- ½ tsp salt
- 8 tbsp frozen butter, cubed
- ½ c heavy cream (+1 tablespoon for brushing scones)
- 1 egg, lightly beaten
- ½ tsp almond extract (vanilla can also be used)
- ½ tsp vanilla extract
- 1 c frozen raspberries
- 1 tbsp flour
almond streusel topping
- ½ c all purpose flour (60g)
- ¼ c brown sugar (50g)
- ¼ c sliced almonds (30g)
- 4 tbsp cold butter, cubed (56g)
- powdered sugar for dusting, optional
Instructions
- In a food processor, combine the flour, sugar, baking powder and salt. Pulse 3-4 times to combine. Add frozen butter and pulse to combine. Continue pulsing until the butter is fully incorporated and the mixture resembles corse sand.
- In a seperate bowl, combine the heavy cream, egg, vanilla and almond extracts and beat lightly.
- Stream ½ cream and egg mixture into the food processor. Pulse until cmbined. Stream in remaining ½ into the food processor. Process on low until the dough just comes together.
- Pour dough onto a lightly floured sheet of parchment paper. Lightly knead the dough 2-3 times.
- in a bowl, mix frozen raspberries with 1 tablespoon flour until all the berries are coated.
- Gently incorporate the raspberries into the dough ⅓ at a time, making sure to get as many as possible into the dough without overworking the dough. Add flour as needed if the dough gets sticky.
- Shape the scones into a roughly circular shape abour 8" in diameter. Move the parchment paper (with the scones) onto a baking sheet and chill in the freezer for 30 minutes or refrigderator for 45 minutes. While the scones chill, prepare the streusel topping.
- Preheat the oven to 400 F
- Combine all streusel ingredients into a bowl. Using your hands, work the butter into the dry ingredients until it comes together. It should resemble large crumbles.
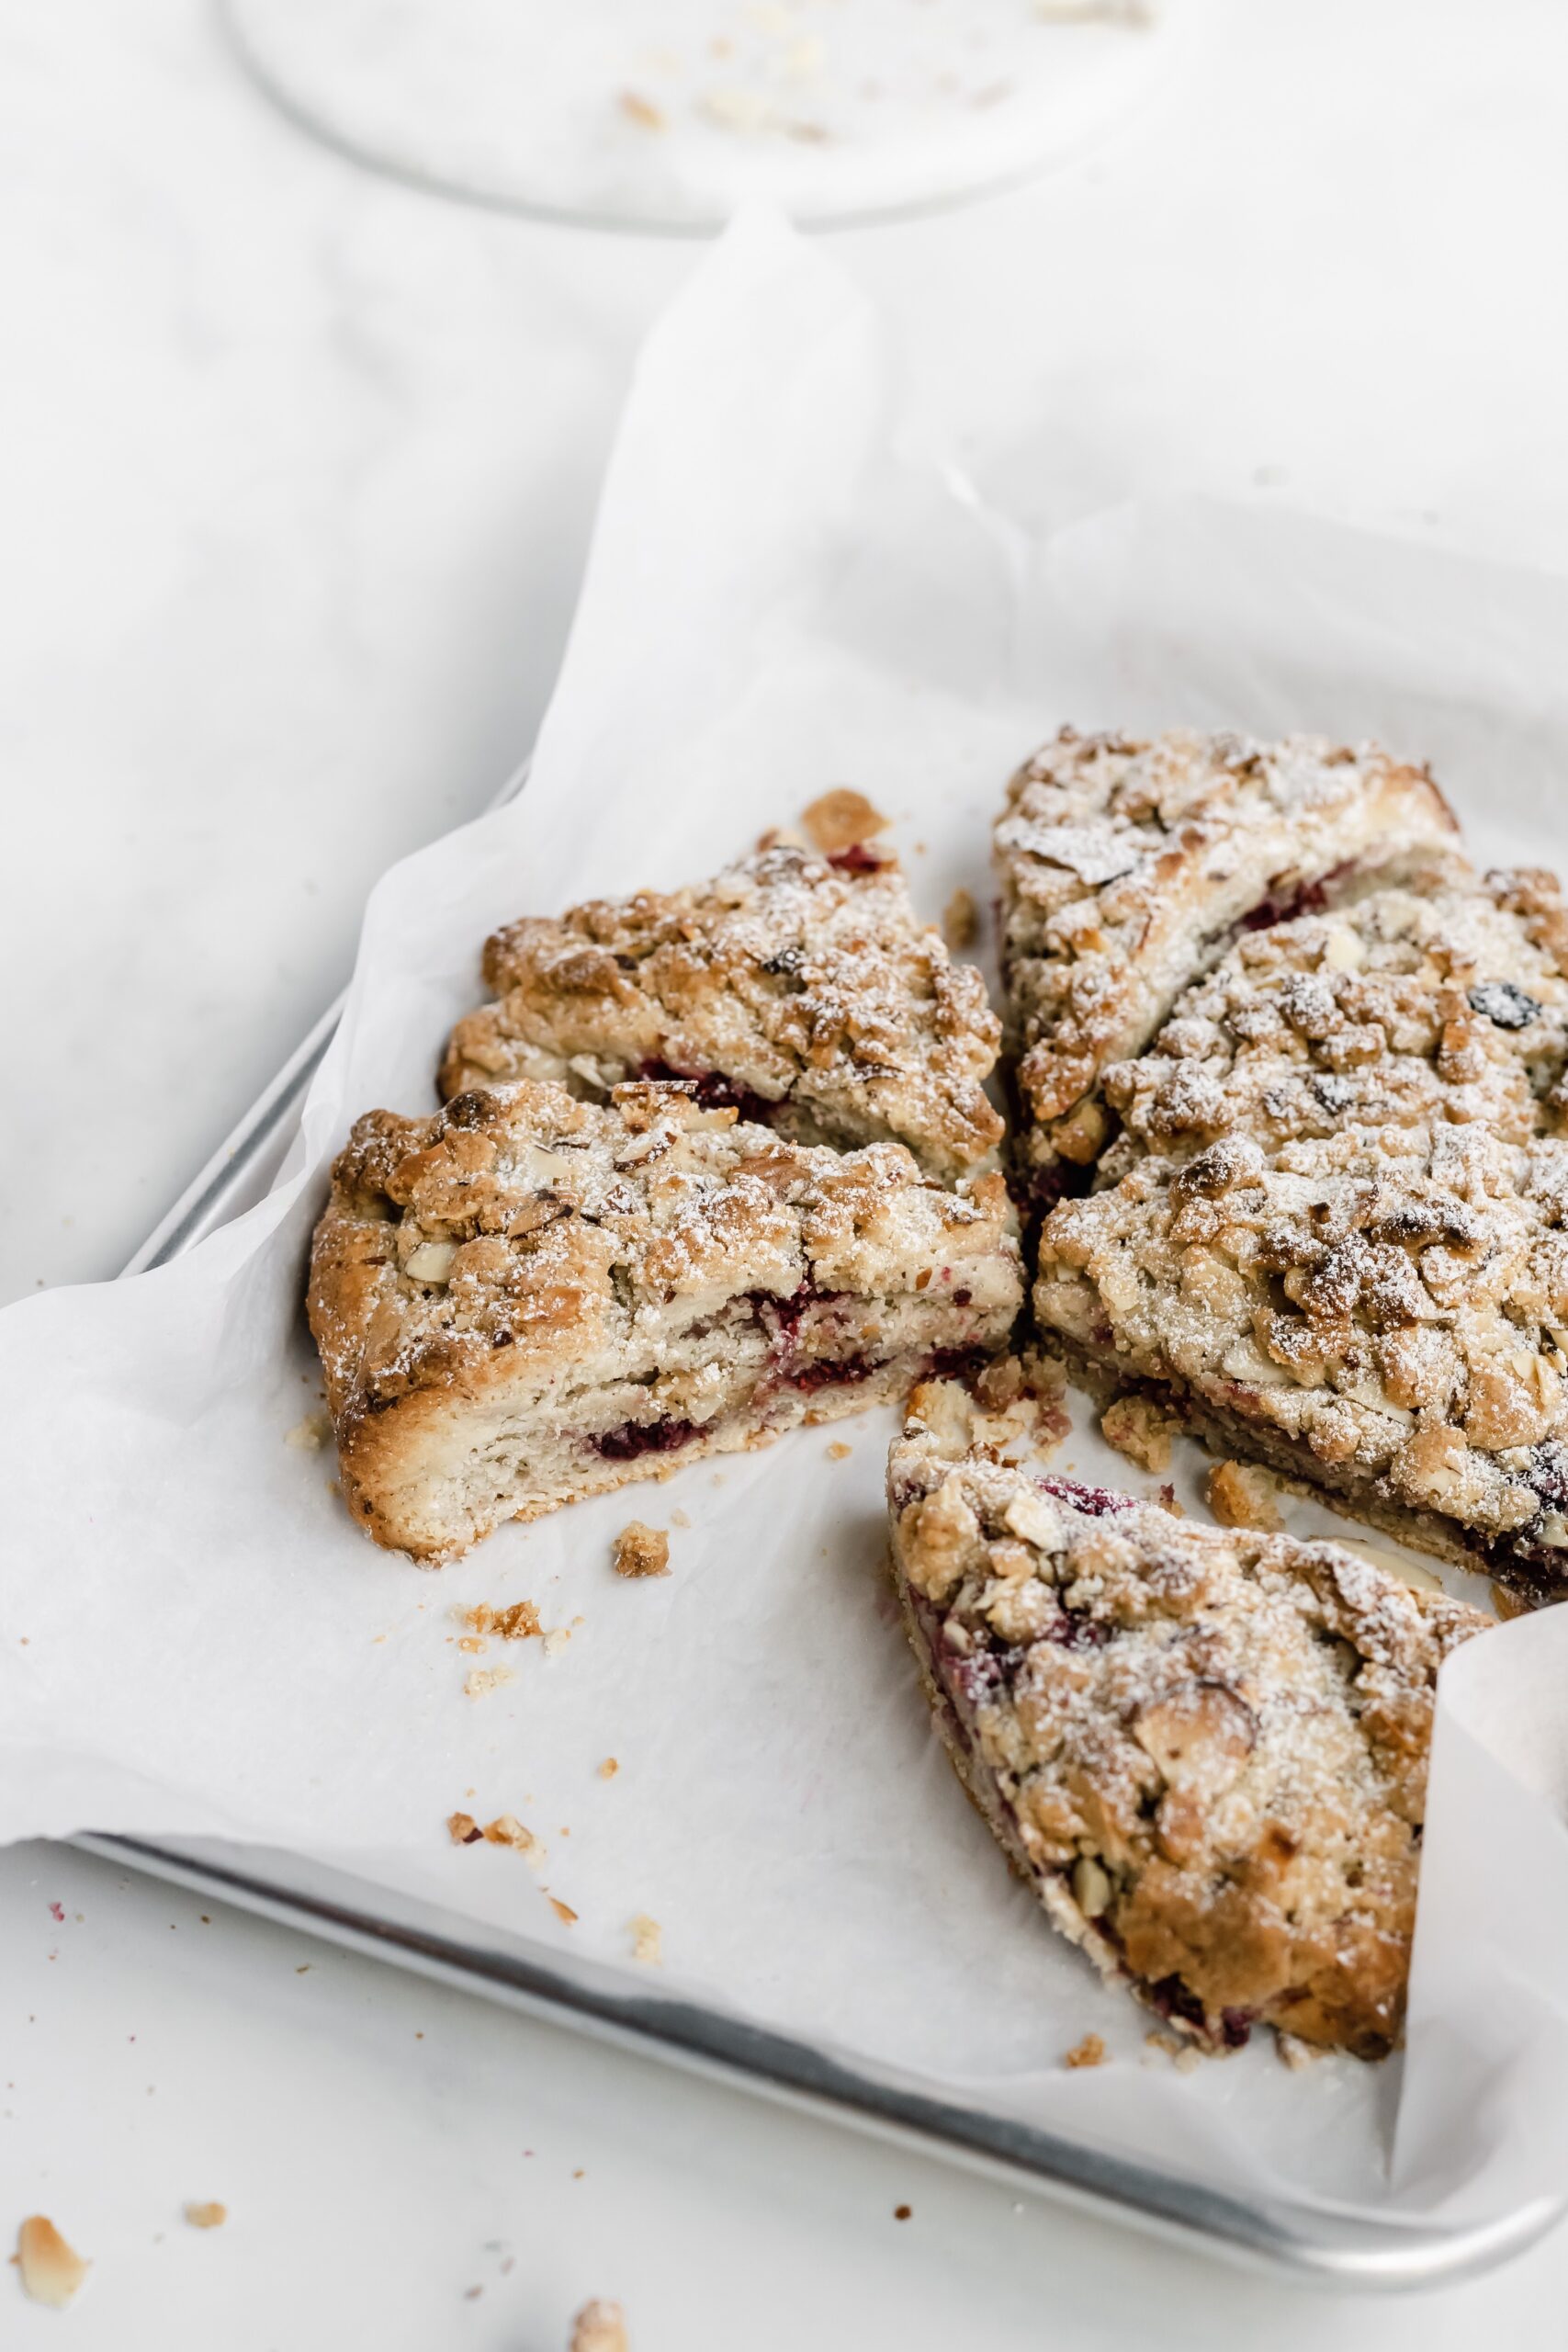
- Remove scones from the freezer or fridge. Brush scones with the heavy cream and crumble the struesel on top. Using a long sharp knife, cut scones into 6-8 wedges. Pull ½ -1" apart.
- Bake in the oven at 400 F for 18-24 minutes. Scones should look baked through and topppng should be a golden brown. Scones will be very fragrant (your nose will let you know when they're done!). If needed, insert a toothpick into the center of a scone. Toothpick should come out clean.
- Allow scones to cool at least 15-20 minutes. Dust with powdered sugar if desired (I highly recommend though). Enjoy!
did you make this recipe?
tag @olivesnthyme on instagram
- July 2026
- June 2026
- May 2026
- April 2026
- March 2026
- February 2026
- January 2026
- December 2025
- November 2025
- October 2025
- September 2025
- August 2025
- July 2025
- June 2025
- May 2025
- April 2025
- March 2025
- February 2025
- January 2025
- December 2024
- November 2024
- October 2024
- September 2024
- August 2024
- July 2024
- June 2024
- May 2024
- April 2024
- March 2024
- February 2024
- January 2024
- December 2023
- November 2023
- October 2023
- September 2023
- August 2023
- July 2023
- June 2023
- May 2023
- April 2023
- March 2023
- February 2023
- January 2023
- December 2022
- November 2022
- October 2022
- September 2022
- February 2022
- December 2021
- November 2021
- October 2021
- September 2021
- August 2021
- July 2021
- June 2021
- May 2021
- April 2021
- March 2021
- February 2021
- January 2021
- December 2020
- November 2020
- October 2020
- September 2020
- August 2020
- July 2020
- June 2020
- May 2020
- April 2020
- March 2020
- February 2020
- January 2020
- December 2019
- November 2019
- October 2019
- September 2019
- July 2019
- June 2019
- May 2019


Emily says
Hi! If I don’t have a large food processor, can I combine the wet and dry with a regular stand mixer?
Megan says
Hi Emily! Totally fine if you don't have a food processor. I would cut the butter into the flour by hand or with a pastry cutter. I have a blueberry lemon scone https://olivesnthyme.com/easy-lemon-blueberry-scones/ that you could use almost step for step as far as making the scone. I would not use a stand mixer.
Emily says
Thank you! I’m attempting to make them this weekend 🙂